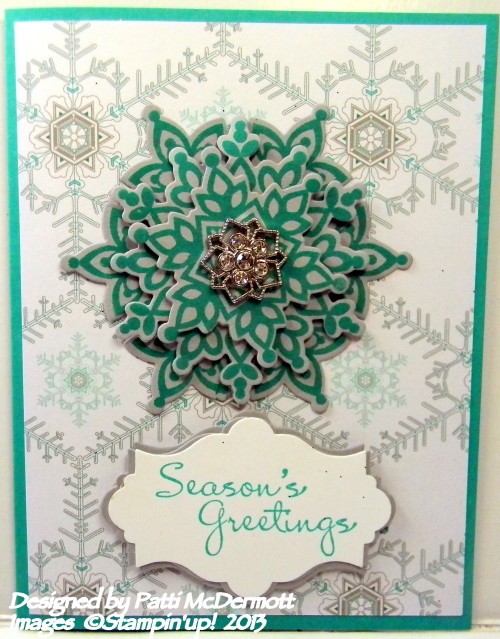
Don’t you just love the new Christmas DSP in the Holiday catalog? This is from the Winter Frost Specialty DSP. The stamp set is a hostess set from the Holiday catalog called Warmth and Wonder. You can get this stamp set by hosting a workshop for as little as $150. I sprinkled Dazzling /Diamonds on the snow in the card but it is hard to see in the photo.

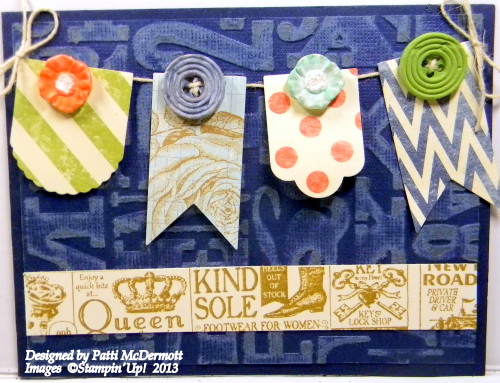
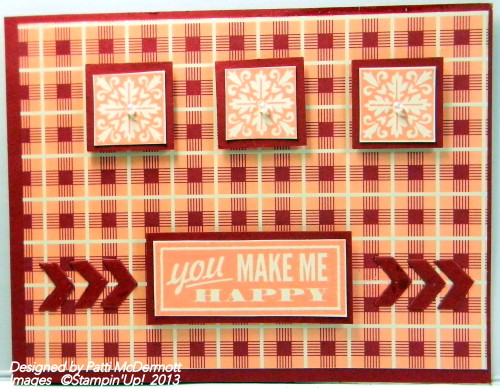
I used the DSP Etcetera from the Big catalog (pg 153) and the Cordinations card stock Night of Navy. These cordination card stocks are another item that is also addictive. So cool what you can do with an embossing folder and a sanding block. Love, love, love the texture you get with it. I used our simply pressed clay to make the buttons and the flowers and colored them with our re-inkers.
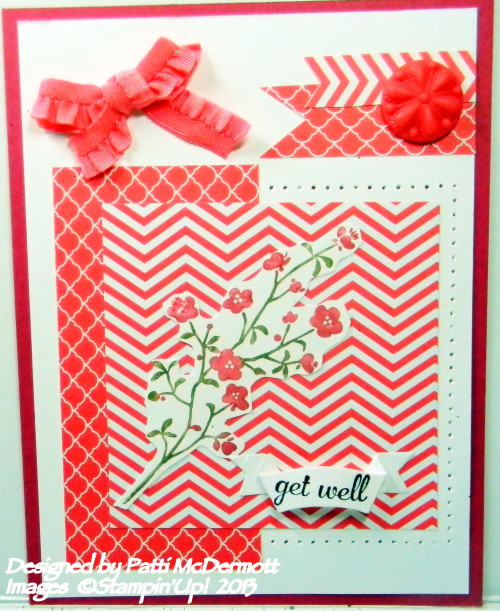
Another sample of Strawberry Slush. Don’t you just love the new In-color ribbon and embellishments that I used on this card? I think they are delightful! So easy to create cards with so many embellishments, ribbon, paper and ink that match.
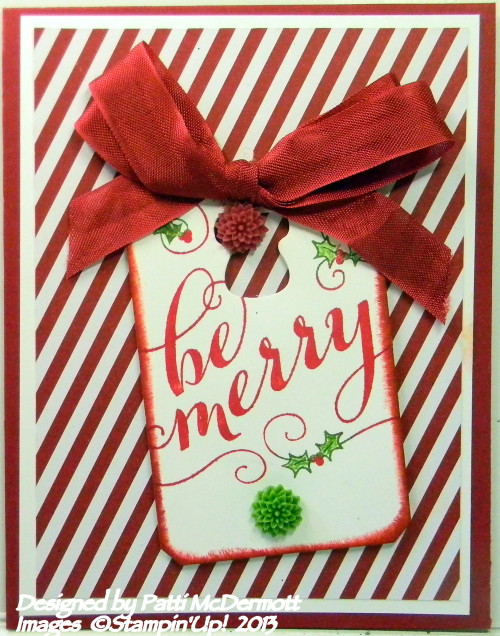
I designed this card using our new Season of Style DSP paper stack on page 22 in the Holiday catalog. I used the Chalktalk Framelits to cut out the tag. The stamped image is another single stamp from the Christmas Collection of Single stamps.
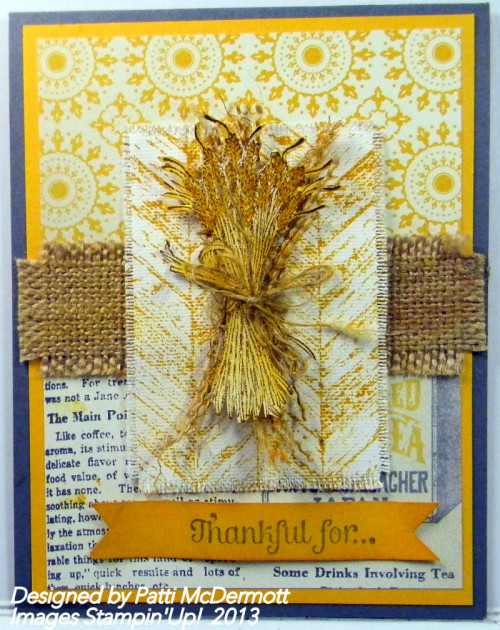
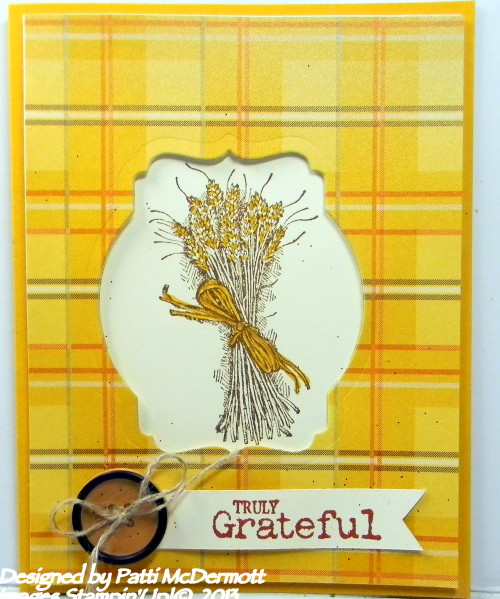
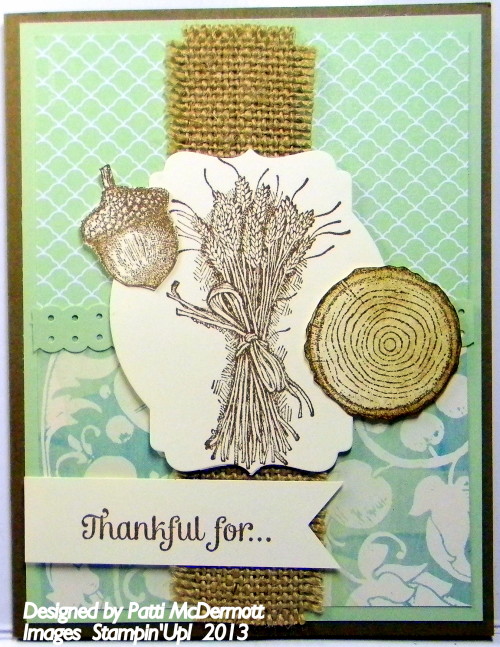
I have gotten a lot of mileage out of this stamp set, Truly Grateful. On this card I use several different textures. I used canvas and stamped the Chevron image with Crushed Curry ink. I used our new burlap ribbon (page 18) in the Holiday catalog, and also the linen thread. I frayed both the canvas and the burlap ribbon and backed the card with DSP from Soho Subway. As always, please leave any comments in the section below the posting. I love hearing from y’all.
I used the sheets from the Winter Frost DSP paper stack, page 29, for the background on this card. The paper stack holds 48 sheets of double sided designs 4 1/2″ x 6 1/2″. Perfect for card making. The hardware, Frosted Finishes, is also from the Holiday catalog on page 28.
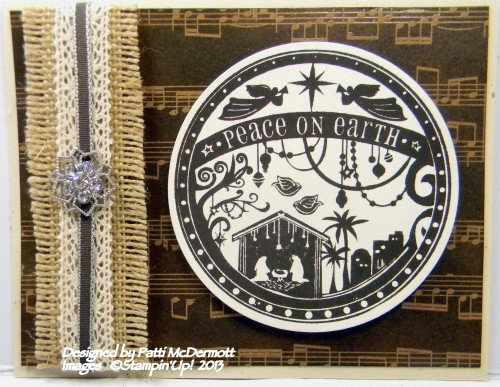
This is one of the single stamps from the Christmas Assortment that has just been released. They are beautiful stamps that you can purchase separately from $4.95. If you are on my mailing list you would have received a flyer with pictures of these new stamps. If you want to see what they are contact me HERE and I will send you out a flyer.
One of my favorite colors from this year’s new In-colors is Strawberry Slush. Have you noticed that a lot of our new colors are in the Malls via clothing, etc. SU always hits the nail on the head with colors that are in this year, not just in paper crafting but everywhere. 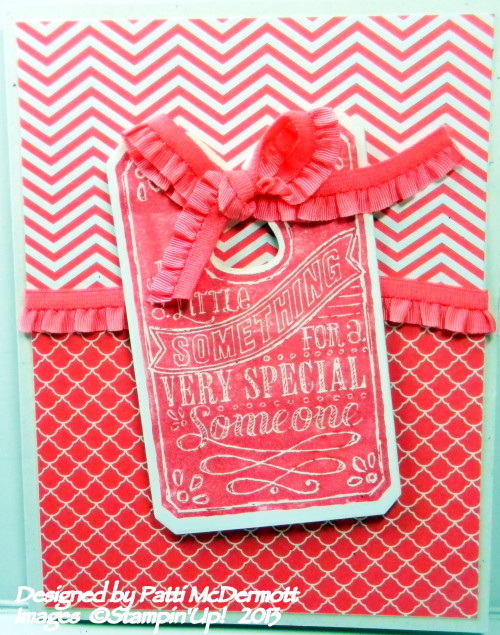
New Single Stamps—Christmas Star
Simply Stars is one of my favorite new stamp sets. The new Christmas Star single stamp is quickly climbing the ranks. I’m a fan of big images, and this one is definitely big.
I love stars because they are very versatile. It isn’t an overtly feminine or masculine shape and can be used year-round for all kinds of projects.
This framed décor project is a fun collection of different textures and patterns. Because the star stamp is so large, it easily becomes a popped-up 3D star by scoring and folding. I also used the Chevron Border Punch, the Expressions Thinlits Dies, and a canvas banner piece from the Banner Simply Created Kit in the holiday catalog.


The Mini Muslin Bag project was a lot of fun to do, too. To get a perfectly crisp image, I heat embossed the star with Gold Stampin’ Emboss Powder onto parchment paper, then ironed it onto the muslin bag. It does take the shine off of the embossing powder, but it guarantees a perfect image and perfect placement every time.

This bag would be a perfect holiday gift. I made a bundle of five note card-sized greeting cards and paired them with the new Crumb Cake Note Card envelopes. These cards are very simple—just the Christmas Star stamped in Sahara Sand ink and the Season’s Greetings sentiment from the Joy to The World Stamp Set embossed in gold. I finished it off with a quick Linen Thread bow.
I’ve got several other ideas for using this beautiful stamp. It’s going on my next order for sure. What will you make with the Christmas Star?
Melody H.
Concept Artist
I love this DSP from the new Holiday catalog on page 18 called Sweater Weather. Perfect name for the beautiful prints in this pack and goes great with our Fall selection of stamps.
A lot of crafters are showing these cards with this technique all over the internet. It appears that it is very popular right now. If you like this technique and would like me to show you how it is done, let me know and we can add it to our classes, clubs and camps.
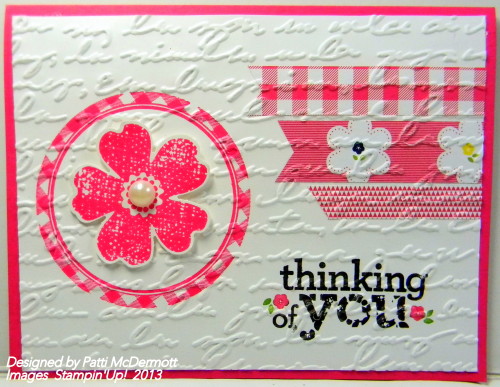
How do you like the way this card turned out? I used the new embossing Folder on page 24 of the Holiday Catalog called “Pretty Print”. Really dresses up this card.
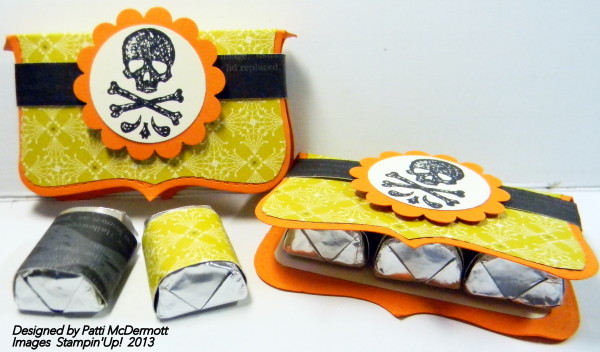
This is the 3D item we made at camp on Saturday! Everyone loved it and so easy to put together. Just the perfect size to hold 3 little Hershey nuggets for that special co-worker or little Goblin. If you aren’t coming to my monthly camps, you are missing out on some really neat projects. They are held on the 4th Saturday of every month. See my calendar HERE for clubs, classes, and camps.
A Simply Sketched Thank You
There is nothing like a summer at home with my children to help reinforce my appreciation for teachers! Don’t get me wrong . . . I LOVE having my two boys with me, but wow, are they active. I know that their teachers work hard keeping their minds engaged and excited about learning.
While working on a summer book report, my oldest stopped one day and said, “You know, Mom, this isn’t so bad. Mrs. H. taught us how to get through these easy-peasy!” Oh how I love that woman!!
So of course I want to help these teachers start the year off right by thanking them for all they do (and have already done before the school year officially starts). What better way than with a first day of school treat bag?

The minute I saw the Mini Muslin Bags in the holiday catalog, I jumped for joy. I can see so many ways to use them! I wanted to add a touch of elegance to them so I decided to watercolor on them. (Yes, you CAN watercolor on them! And it is easy to do, too.)

The Simply Sketched Hostess Stamp Set has just the pretty look I was going for so I stamped the flower and sentiment on the bag using Jet Black StāzOn Ink. It looked great just like that, but I kept going and added some color. Using a Blender Pen, I picked up some ink from a Calypso Coral Classic Stampin’ Pad and started applying it to the flowers. (Use a light hand to start and then add color as you go.) To add some extra highlights, I took my Calypso Coral Stampin’ Write Marker (available individually until Oct. 31) and lightly colored directly on the bag. I used the Blender Pen to smooth it out a bit . . . just as I do on paper! Then, I used a Pear Pizzazz Stampin’ Write Marker to color the stems and the Blender Pen and a little Pool Party ink to create shadows around the flower. Done!!

And the card? I colored it exactly the same way as the bag on Naturals Ivory Cardstock, then added a Basic Gray Cardstock frame to make it pop. I thought that the Naturals 7/16″ Trim would be a perfect finish along with a Smoky Slate button from the Neutrals Designer Button . . . plus some Linen Thread.
I hope the teachers enjoy these—and I look forward to making more variations with these fun bags! What was that my son said? Oh, yes: “Easy peasy!”
Jennifer Timko
2013 Artisan Design Team
I don’t own this set, I borrowed it from my daughter Mo, who won it at convention. She graciously let me borrow it for my camp this past weekend. We used White craft ink with white embossing powder on the stamp and I love the way it came out. Of course, the Witches’ Brew DSP is to die for also.

Love these colors together. This is one of the cards we made at my camp yesterday. The last card I posted made with thinlits I created using the Circle Set. This card was created using the Label Thinlits Die Pack. I love all the various little dies that come with these thinlits. You can be so creative with them.

We used Two Way Glue and Dazzling Diamonds on the inside. Don’t ask me why the color of the DSP is lighter than the top, I thought it was the camera but I guess it is the person using the camera. The picture of the front of the card (top) is the true colors.
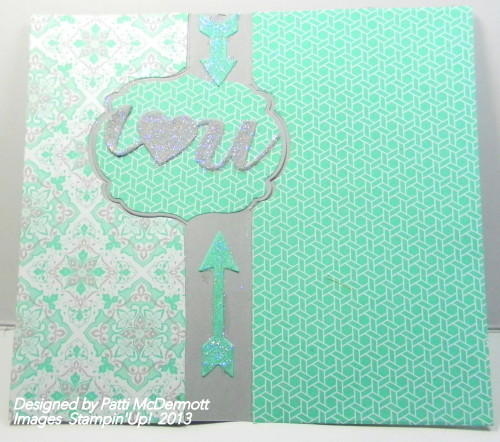
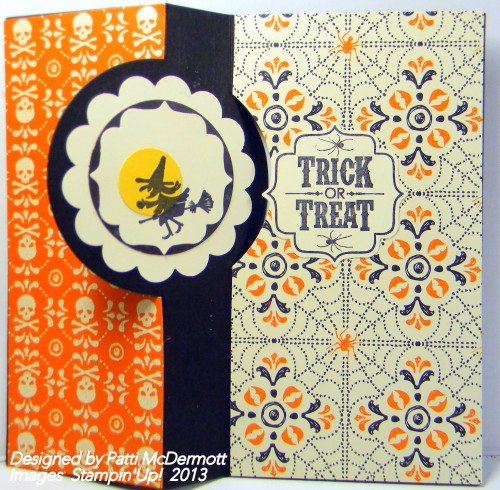
This card is created with the Hello Lovely set that we got FREE when we went to convention, along with lots of other sets and goodies. The little arrows are from the new THINLITS Circle Die. See Thinlits video below. In addition, my posting of the Flip Card was made with this die.
$20 Tuesday . . . The Gift of Gab
If there is one trait I know that my son got from me when he was born it was the gift of gab. I will never forget the moment when I realized that this was one of his talents. He was about four years old and we were vacationing in San Diego. We had just finished a harbor cruise and were heading back to the motor home to eat some lunch. We started eating and my son suddenly started talking. He was chatty, so I didn’t think much of it at the time, but as I tuned in to see what he was talking about, I realized he was speaking out the window to the cute old couple who were parked next to us. I still smile about that incident to this very day (seriously . . . I am smiling as I type it)!
So it was natural as I was flipping through the catalog to land on the Talking Tags ($7.95 US/$9.95 CAN—way under $20). Now, one thing I love about the Talking Tags is their versatility. I know . . . immediately you think of stamping a card, adding a Talking Tag message inside, and sending it off to a loved one. But I have found a few more uses that will make this a must-have for nearly everyone.
Please note that in my excitement to post about the versatility of Talking Tags, I failed to look into the longevity of the message. I have confirmed that the message will be around for at least two years. So keep that in mind as you are tagging things! Also for idea purposes I have left up the ones that may no longer make sense with this information. Happy tagging!
With back to school right around the corner, the first thing I thought of was attaching it to the first day of school photo. You can record your child telling you how excited they are, what they hope to learn, and what their favorite thing about school is. To be a little more discrete about this one, I attached mine to the back of the photo.

I then thought of the obvious: I attached it to the bottom of a scrapbook page. This page in particular is pretty fun; it has a five-generation picture of my son and daughter, my wife, her dad, his dad, and his mom. So for my kids that would be their great- great-grandma. I thought my wife could take the opportunity to leave a brief message about her so that our kids would know a little bit about her—perhaps a favorite story, or something she liked to do.

In the same vein, I also attached a Talking Tag to our wedding album, so I could share with my kids how we felt on this particular day!

I also love the idea of using the Talking Tag to help your children read, or be read to. I asked my daughter to grab her favorite book and I attached a Talking Tag to the bottom of each page. I plan to record myself reading so she can follow along. Or—this would make a great gift coming from Grandma and Grandpa. Record them reading a book and give it as a gift to a little one. To make these a little less obvious on each page I attached the sticker with the instructions on the main page and then cut it down to just the QR code on every other page.


You can add Talking Tags to souvenirs, too! For example, we want our kids to experience all that this country has to offer so we have made it a goal to visit all 50 states before our children turn 18 (we have been to 11 so far). Each time we go somewhere, we let them choose a souvenir, and I choose some sort of decorative shot glass so that we can remember each state we have been to. If I attach a Talking Tag to the bottom of each one of these, I can tell a brief message about my favorite part of the trip.

You can also add it to family keepsakes, antiques (be careful not to ruin anything valuable as they will stick) or souvenirs given to you by other friends or family members. My brother brought me a hand- carved water buffalo from the Philippines, but my kids have no idea what it is. Since it was special to me, I wanted to share it with my kids. Side note, I put the Talking Tag there just for picture purposes. I would put this on the bottom so as not to distract from the gift.

Last but not least, have you ever wondered how to work your TV/DVD/DVR, etc.? Well, wonder no more! Leave yourself a recorded note, or have one of your more tech savvy children leave you some recorded instructions!

These are just a few ways you can use the Talking Tags; let us know in the comments below how you have been using them—or plan to use them!
Casey G.
Sr. Web Properties Specialist
P.S. You will always want to test these on a discrete surface spot in case it leaves residue or alters your item. Stampin’ Up! cannot be held responsible for any damage done by using the Talking Tags on anything other than its designed purpose.
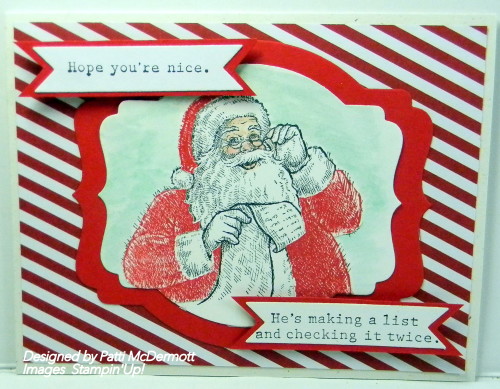
I know it is a little early for Santa but I couldn’t resist playing with this stamp set. It is soooo cute. You can find it in the Holiday Catalog page 31.
Love this stamp set, one of my favs from the BIG catalog. Used our new Chevron Punch on this card. Hope you like it.
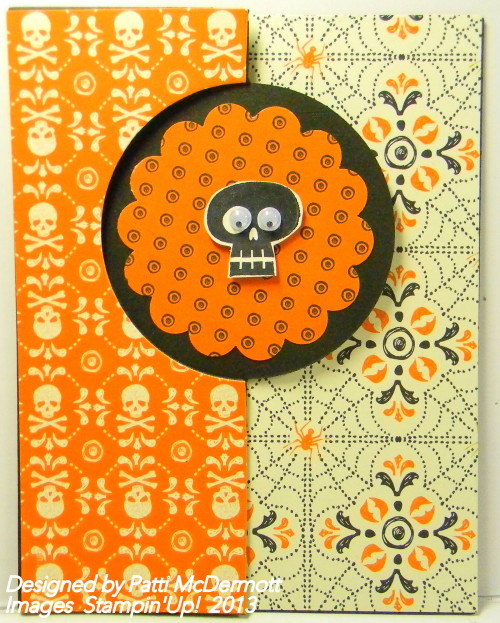
This card was created using out new Thinlits Circle die and our gorgeous Witches’ Brew DSP. Using this die to make a card takes less than a 1/2 sheet of card stock.
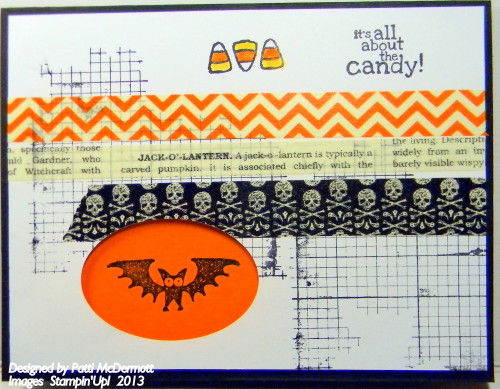
These 2 cards were created using the same DSP (Witches’ Brew) and the same washi tape but look totally different, just by changing around the images or sentiments.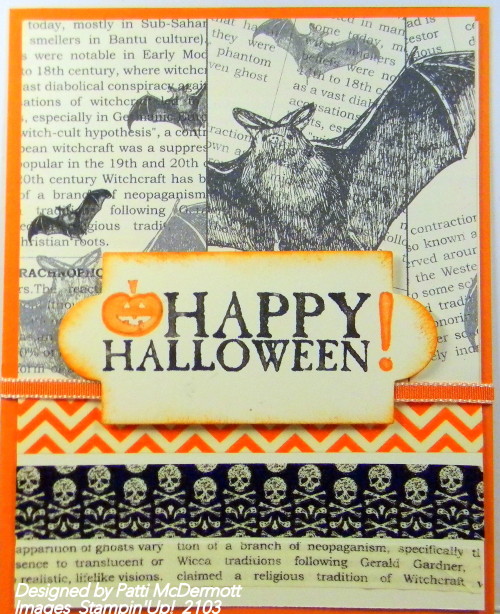
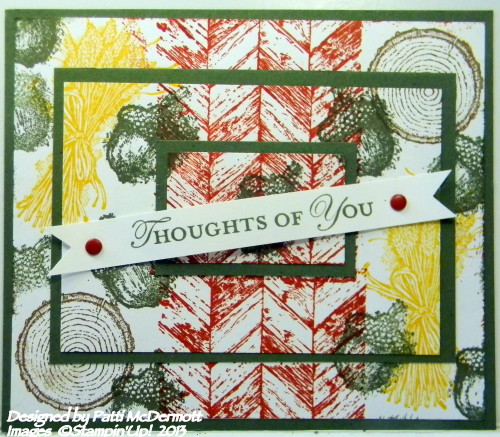
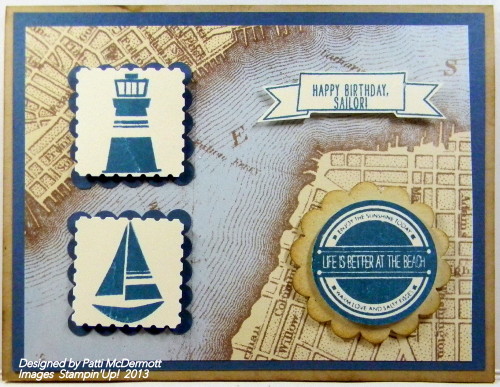
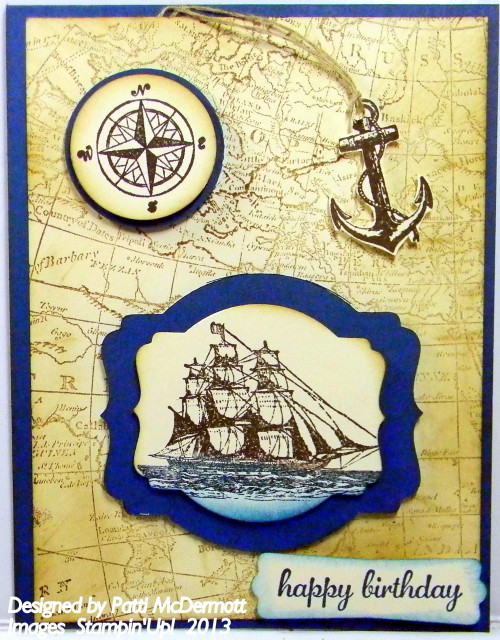
This is Settin’ Sail stamp set used with Soho Subway DSP. Really like using these photopolymer stamps. There 21 stamps in this set.
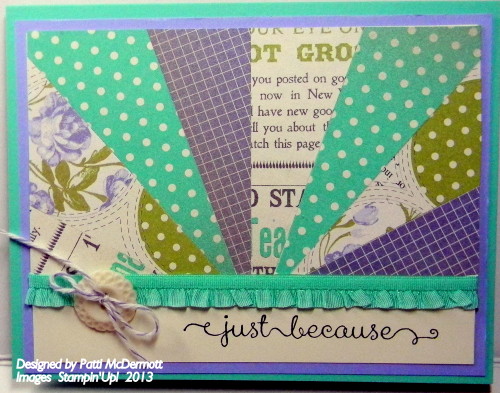
This is one of the cards we made at my hostess club this month. I cased this card, in part, from another demonstrator, Dawn Olchefske. The DSP is Afternoon Picnic and the sentiment is from the set “A Dozen Thoughts”. Thanks Dawn for your inspiration.
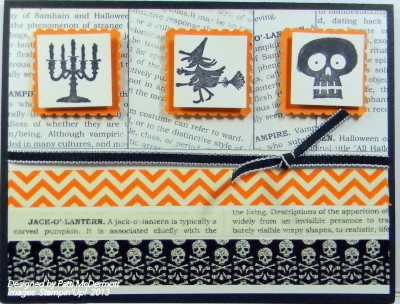
We have got some really cool stamps in the Holiday catalog for Halloween. This is one of my favorites. You can do so much with it. I will be showing a ton of stuff made with this set. Don’t forget to check out the other spooky sets too!
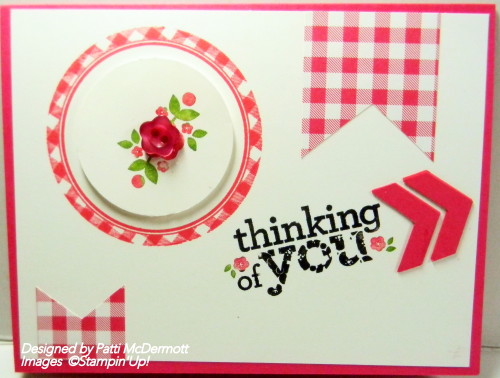
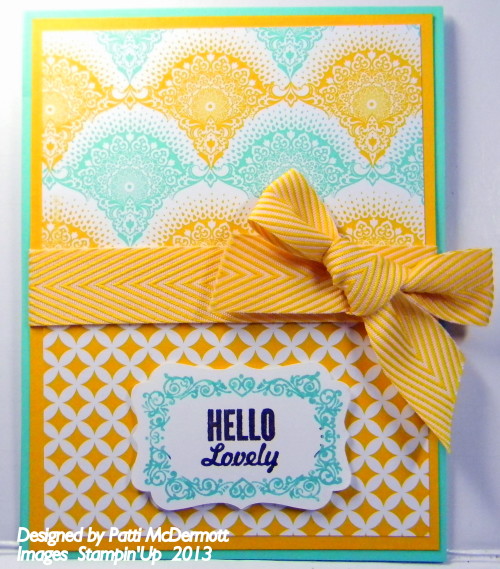
More Eastern Elegance DSP. So pretty! These colors, Crushed Curry and Coastal Cabana, so go well together. I really love the new Chevron ribbon they came out with this year. This is Crushed Curry, but it comes in 11 other colors, page 173 in the big catalog. The sentiment is from the stamp set “Hello Lovely”.
I love our new burlap ribbon. I frayed the edges on this to give it that distressed look. The stamp set I used is Truly Grateful from the new Holiday catalog.
You can now order this background stamp on page 23. I love Vintage…Really? Anyway, I am sure you will see me using this a lot. Do you agree that this card is perfect for a man?
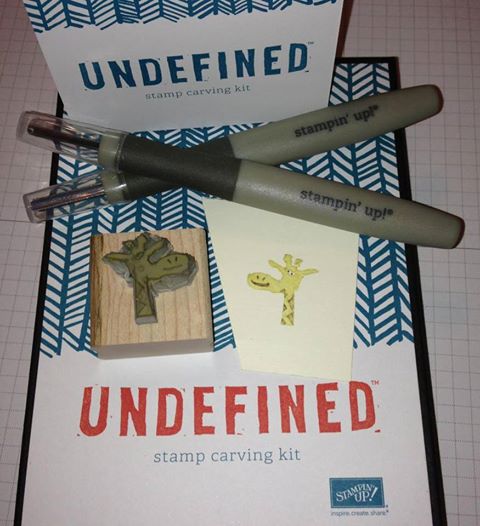
Mo is going to do a demo on how to carve your own stamps. I think she did an AWESOME job on this!