
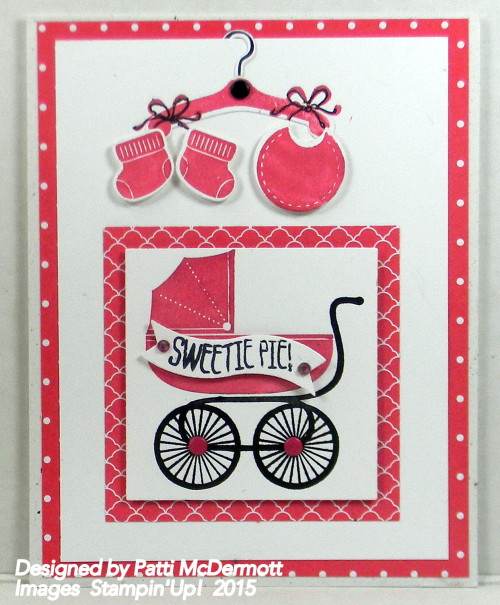
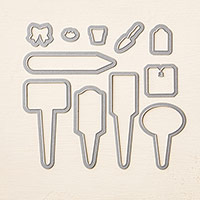
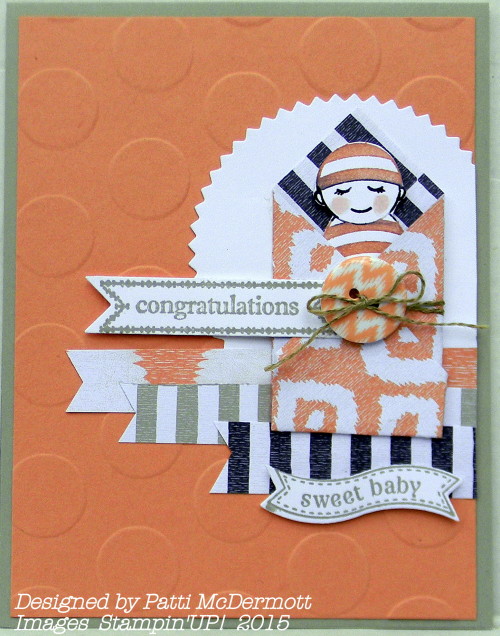
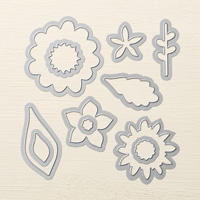
I used this In color on another baby card…got baby on the brain for some reason. Anyway, the set I used is Something for Baby with the matching framelits, page 74 of the AC. What is fabulous about this set is that it is so versatile with all the possibilities. Here I cut out all the items on this page with the matching framelits. The sentiment is from one of our Photopolymer sets, Sweetie Pie, which unfortunately is now sold out.
I will add here that is you are interested in purchasing the photopolymer stamp sets that are announced throughout the coming months, it’s a good idea to jump on it immediately and purchase it because they will only be available for 6 months after they are released. They go very fast.
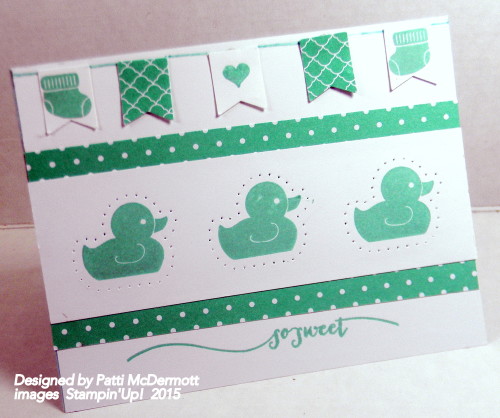
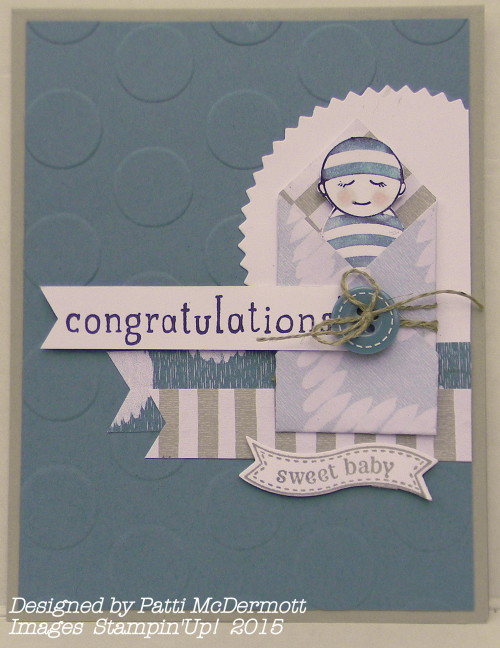
From what I have heard from everyone, customers and fellow demonstrators, is that this in color is going to be missed the most, and I agree. If you look back at some of my past posts you will see that I used this color a lot. Here I used it in a baby card with the set, Something for Baby, page 74 of the AC and the matching framelets, Baby First. We can all breathe a sign of relief because both of these items are being carried over to the new catalog, soon to be released on June 2nd.
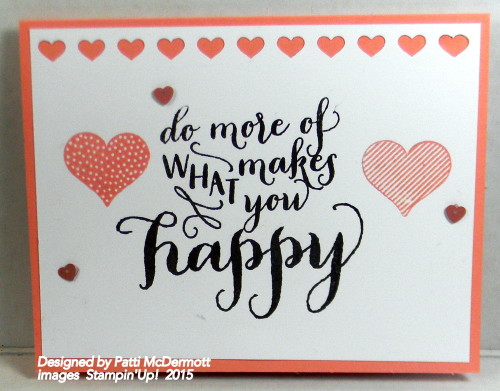
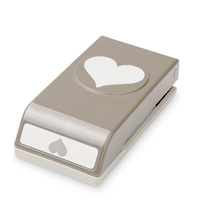
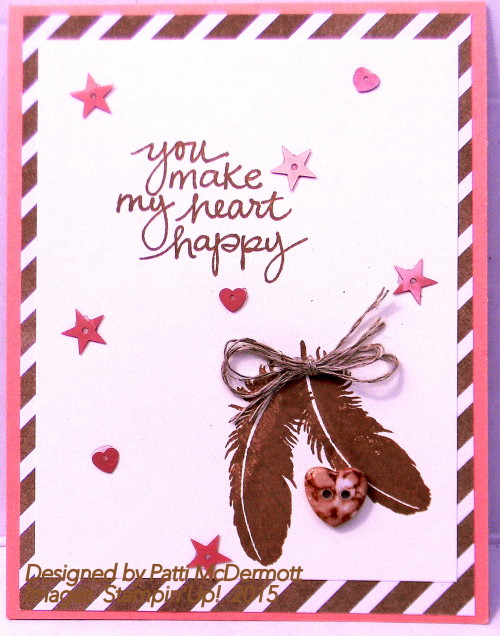
I guess what I liked about most of the in colors that are retiring is the fact that they are all in the pastel family and really soften up a card. Here I used the Hearts Border Punch found on page 222 of the AC. In addition, I used the in color sequins that are being retired. The good news is………the stamp set I used on this card, Hello Life, page 6 of the OC, is being carried over to the new catalog.
|
|
|
||||||
|
|
|
||||||
|
|
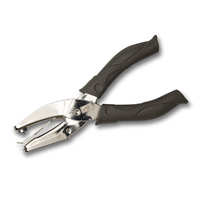


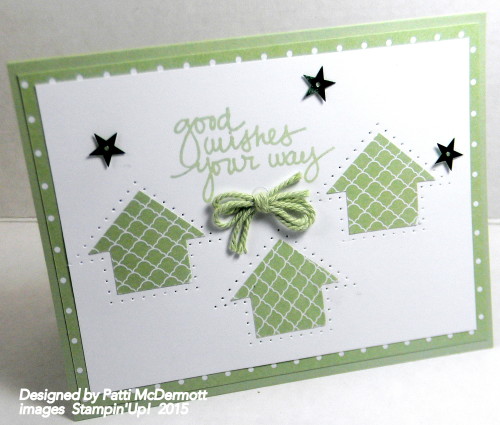
The next few days I will post cards made with the outgoing In colors. I really hate to see them go, they have served me well in my card designs. In addition, on this card the punch used to cut out the houses is soon to be gone also. I really loved that punch too. The embellishment stars (sequin) assortment are also retiring.
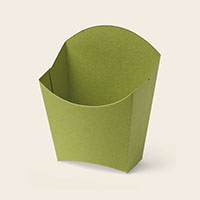
The Everyday Adventure Project Life Card Collection (item #135298) is so fun to use! Not only do the pre-designed cards make for a quick and easy memory-keeping solution, but you can also use them, along with the coordinating Everyday Adventure Project Life Accessory Pack (item #135301) to make adorable cards in many sizes. (The accessory pack is full of fun goodies like laser-cut specialty cards, wood accents, epoxy stickers, arrow paperclips, and even washi tape!)

I paired these fun products with the Really Good Greetings Stamp Set (item #130333) because it covers a variety of occasions and it’s playful—just like the bright colors in the Everyday Adventure products!
Don’t be afraid to trim, punch, die-cut, and stamp on the Everyday Adventure Project Life cards. The creative possibilities are huge with 100 double-sided cards to choose from.
Get these products before they’re gone! You’ll be glad you did!
Robyn P.
Sr. Concept Artist
Want to see what else is going away—so you can stock up on your favorites? Click here to see the entire list!
How much fun has it been to see all of the amazing layouts this week using different Project Life collections? Just a reminder . . . #NationalScrapbookDay is only a couple of days away! Don’t forget to post your favorite #PLxSU layouts on Pinterest for a chance to win a Happiness Is Project Life Card Collection by Stampin’ Up! (item # 135307) signed by Becky Higgins and Shelli Gardner!
Today we’re sharing some super-cute pages using the Little Moments Project Life Card Collections by Stampin’ Up! (item # 135299). Plus, if you haven’t noticed, this collection is on the retired list—and you can get it for an amazing discount!


Lindsey is a member of our communications team here at Stampin’ Up! She’s a die-hard digital scrapbooker, but was excited to give Project Life a try! Plus, she has taken some incredible pictures of her darling little boy. When I asked her if she would put together a page using the Little Moments cards and accessories, she agreed—and did an amazing job!

I wanted to do something creative with the Little Moments set, too. My kids are a little older, so I did the next best thing—puppy pictures! I used all of the Project Life cards and accessories to highlight our Walker Coonhound’s first week at home. I really love the grunge look, so I journaled on my vintage typewriter. The result gave the layout a rough and tumble feeling—just like a new puppy!

I really liked the idea of using the 6″ x 8″ Project Life Album (item # 135293) to get some of my wedding photos into an album. This collection has so many lovely cards! It was perfect for a wedding layout.

I also decided to challenge myself and do a non-Project Life project using the Little Moments cards. I used the Mini Treat Bag Thinlits Dies (item # 137547) and then decorated the outside with cards and accessories from this collection.
Hillary Sosebee
Stampin’ Up! Demonstrator, Canton, GA

I’ll admit it. I have been struggling with my memory keeping during the last few years. Project Life has totally reinvigorated my love for recording all of the amazing-ness that is my family!

Not only was I able to use this collection to create a super-fun page for my boys—I even pulled out some Project Life stamps, cards, and accessories from Little Moments to create this traditional layout of me with my husband!
Jeanna Bohanon
Stampin’ Up! Demonstrator, Las Vegas, NV
After seeing all of these amazing layouts, are you getting reinvigorated to start memory keeping, too? Take a look at the Little Moments video if you need more convincing about this fabulous collection!
https://www.youtube.com/watch?v=sc95necwKX0
Shara M.
Product Specialist
Here’s a wonderful gift for spring, courtesy of Artisan Team member Barbara Meyer!

Stamp a 6″ x 8″ Cellophane Bag (item #102210) with White StazOn ink (item # 106960). Let dry. Tuck the flower bulb instructions into the back of the bag. Put the flower bulb in the cellophane bag. Fold over the upper edge of the cellophane bag and punch two holes in the front. Thread the ribbon ends through the holes and tie a knot. Secure with a 2014–2016 In Color Printed Clothespin (item # 133630).
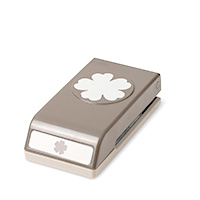
Create a tag using the Ornate Tag Topper Punch (item # 137416) and tuck it in the bag. Make small gift cards using the Mother’s Love Stamp Set (item # 138841).


This is a perfect gift for friends with a garden or a balcony!
******
Die Zellophantüten mit StazOn weiß bestempeln.Die Blumenzwiebel aus dem Gartencenter aus der Verpackung nehmen und in die Tellophantüte geben. Den oberen Rand der Zellophantüte umbiegen und vorne zwei Löcher stanzen. Das Band zwischen den zwei Schickten Zellophan binden und die Enden durch die Löcher ziehen und einen Knoten binden.
DieBeschreibung der Blumenzwiebel zusammenfalten und hinten in die Tüte stecken und mit einer Mini-Holzklammer fixieren.
Mit der Stanze eleganter Anhänger einen Tag stanzen und ebenfalls in die Tüte stecken.
Perfektes Geschenk für Freunde mit Garten und Balkon!
Barbara Meyer
Artisan Team 2015–2016
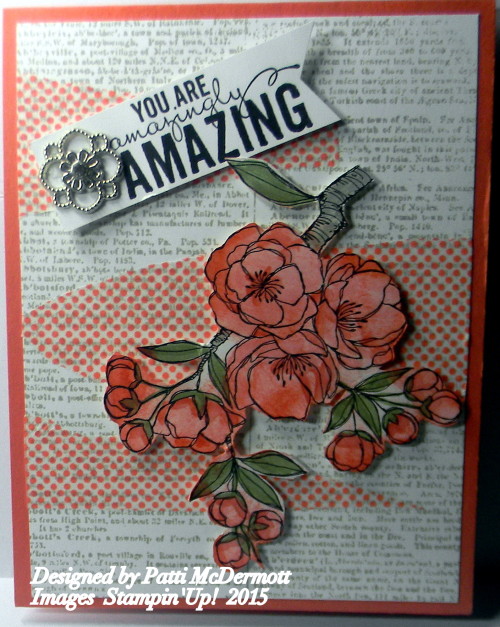
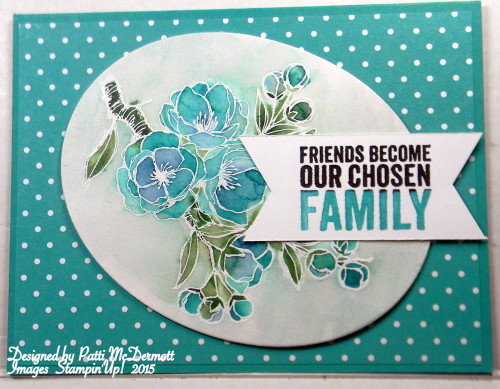
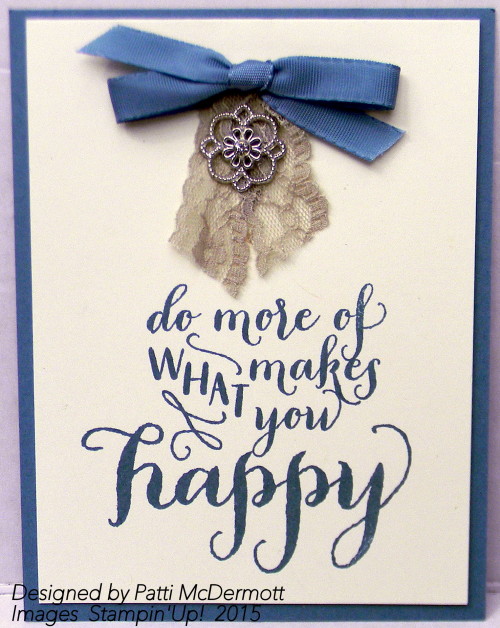
This image is from the set, Indescribable Gift, page 35 in the OC. I used Calpso Coral and Crisp Cantaloupe and Wild Wasbi to color the image. I tore up the Birthday Bash Washi sheets, page 11 OC, and added it to the base card after stamping it with the background stamp, Dictionary, page 175 of the AC.
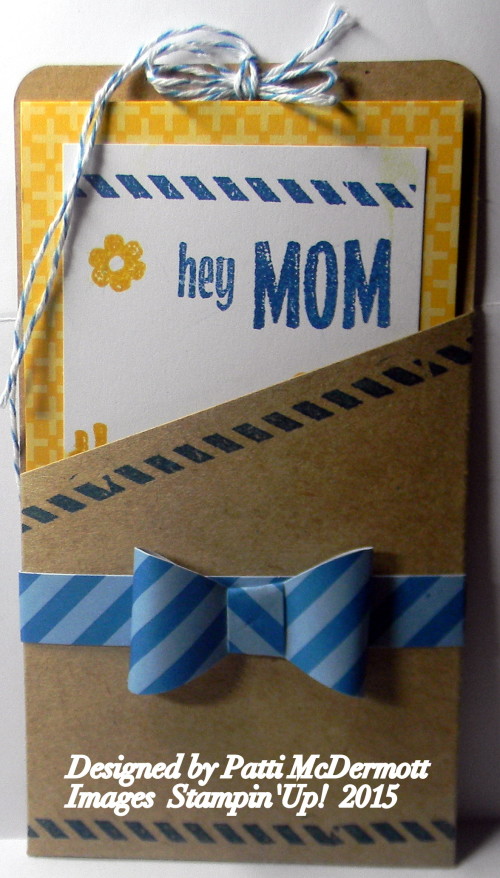
This is from MY Paper Pumpkin this month. As you know, if you get PP, that you do not have to copy the directions that come with the kit. You can go outside the box and design what ever you want. That’s is what I did here. In this month’s kit we got a great variety of 12 stamps to use in the kit. So much fun!
|
|
|
||||||
|
|
|
||||||
|
|


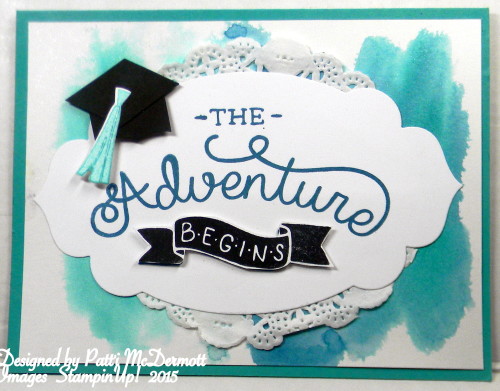
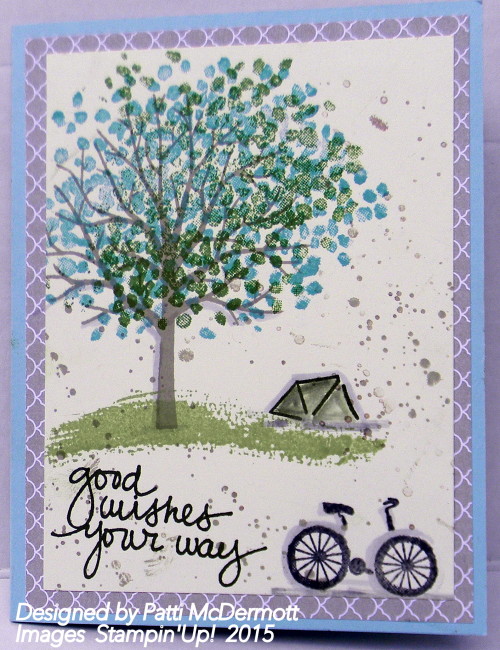
Well we all know that graduations are just around the corner and we all have someone, family, friend, neighbor who is graduating. Several sentiments from this set, Adventure Awaits, page 41 of the OC, can be used for many Graduates. I love them all and hoping this set carries over to the new annual catalog. I did a water wash on the shimmery card stock with Coastal cabana and Island Indigo. I used the Framelit from Apothecary Accents (soon to retire) on page 230 of the OC, to cut out the sentiment.
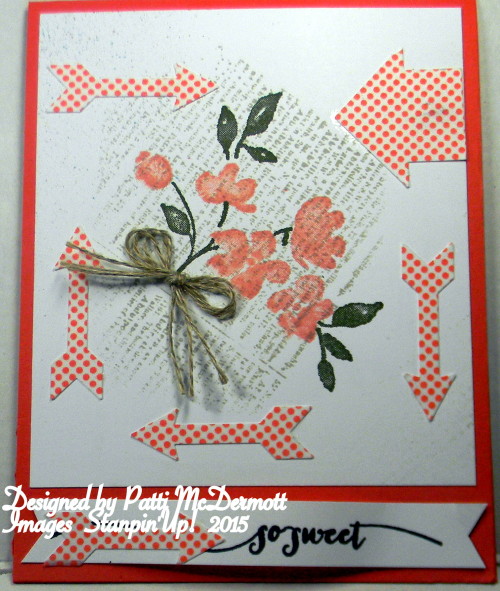
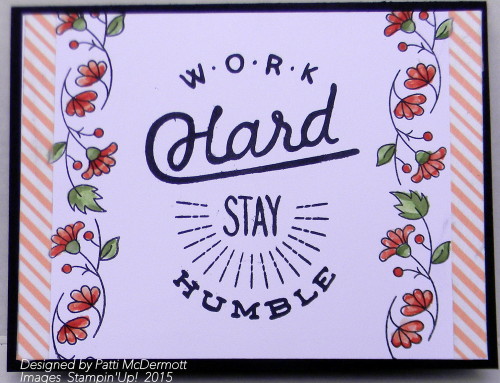
This is one of those cards that I created from the scraps on my desk. The arrows are cut out with the punch, What’s Up, page 222, AC (soon to retire). I used the Washi Sheets, page 11 of the OC, for the arrows. Tripled up on the linen thread, and the image is from Painted Petals, page 19 of the OC. The sentiment is from the stamp set, Hello Life, page 6 of the OC. The background is lightly stamped with the Background stamp, Dictionary,found on page 175 of the AC. Alas, that is soon to retire……..and I just purchased it, wouldn’t ya know!
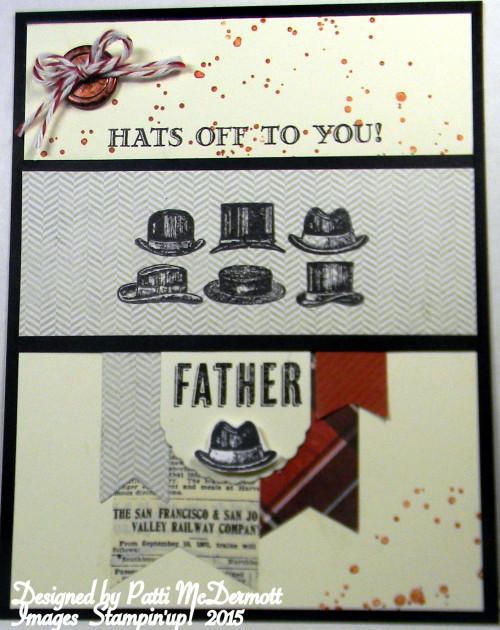
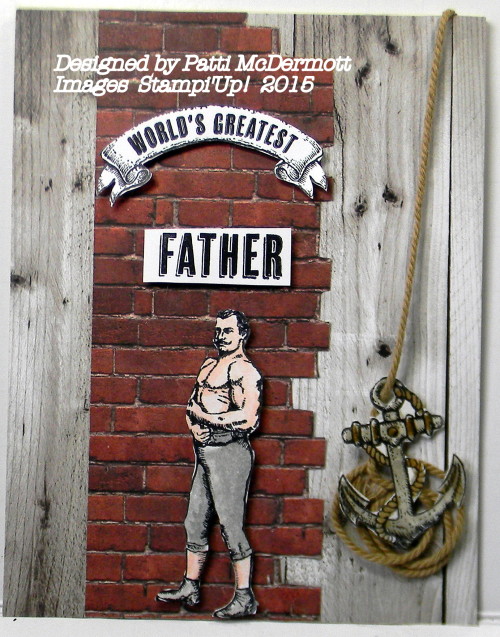
Well this is another card for Father. It could be Father’s Day or Happy Birthday. I used the very masculine stamp set, Guy Greetings, page 41 in the OC. In addition, I used the Adventure Bound Paper Stack found on page 40. I colored the silver button with a red sharpie.
I used shimmery card stock and stamp embossed the image in white. I colored it with Aqua painters using Island Indigo and Coastal Cabana. I used Wild Wasabi for the leaves. This is such a beautiful set, Indescribable Gift, page 35 of the OC. I love the sentiment from Painted Petals, page 19, also from the OC.
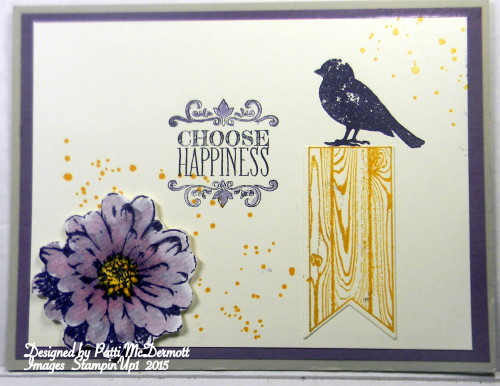
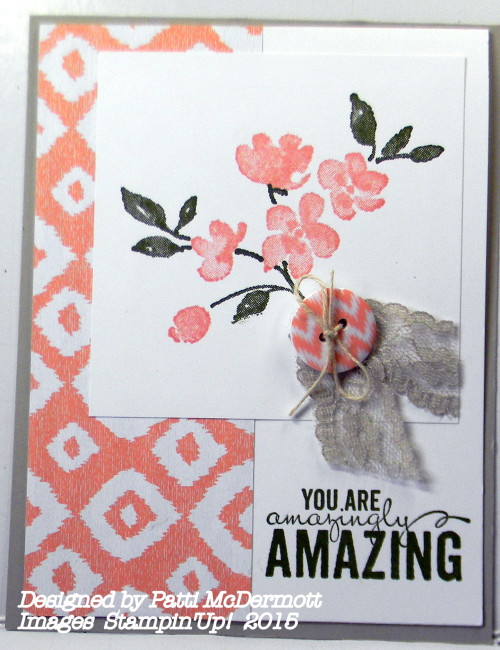
I totally forgot about this set, which can be found in the AC, on page 118. This set was just sitting on the shelf and now that the retirement list is out, I started going through my sets and realized I have never used this set. I don’t know why because I love it. Fortunately, I will be able to continue to use it because it is not retiring. I used Perfect Plum, an ink I haven’t used in a long time and Crushed curry. I watercolored the flower with my aqua painters, found on page 210 also in the AC.


|
|
|
||||||
|
|
|
||||||
|
|


I created this card using the Sweet Dreams DSP, and Sweet Dreams Designer Buttons, all found on page 39 of the OC. The set is Painted Petals, page 19. I used Crisp Cantaloupe with Mossy Meadow inks. The ribbon can be found on page 43. This stamp set is best used with a stamp-ma-jig, page 235 of the AC. Hope you like it.
Have you seen the incredible papers in the Sweet Dreams Designer Series Paper pack? They’re so cute and so versatile. The paper was designed for our occasions catalog’s suite of baby-themed products, but it could be used in so many ways. Here are a few that we had fun making!

What have you been making with the Sweet Dreams Designer Series Paper? Leave us a link in the comments section below!
Melody H. and Chrissy N.
Concept Art
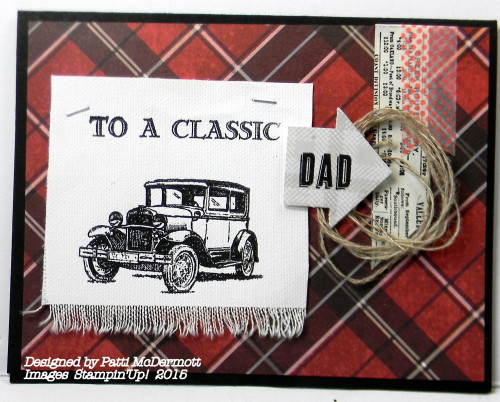
This is another card I created from the set, Guy Greetings found on page 41 of the OC. The sentiments in this set can be used for Father, Brother, Dad, Uncle, Grandpa, or Husband. You can do so much with the images because they are so awesome. I love a set that has both images and sentiments, takes all of the guess work out of creating. This can be either a Fathers Day card or a birthday card, or to tell that special man just how much you appreciate him. The DSP is from Adventure Bound, page 40.
You know how hard it is sometimes to come up with a Masculine card? Well, with this stamp set, Guy Greetings, page 41 of the OC, you can make several masculine cards for different occasions. The set is so versatile. I used the DSP from the Paper Stack, Adventure Bound, page 40. This is a wonderful assortment for that Masculine card. Stay tuned for more masculine cards to come.
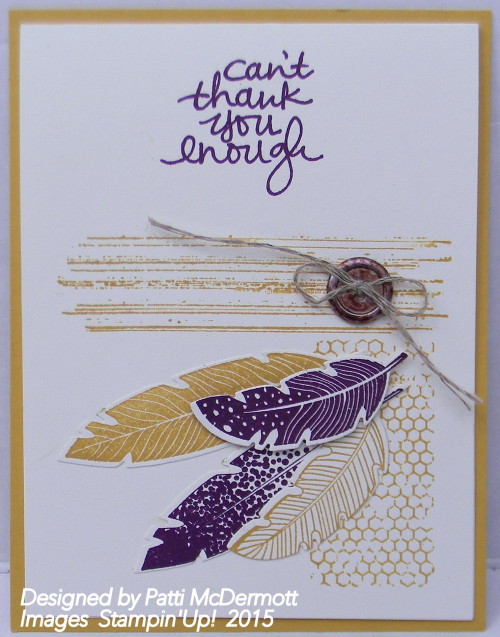
Some of my favorite new In-colors are Blackberry Bliss and Hello Honey. I am so glad they will be around for another year. Although I am sorry to see our beautiful pastel in-colors leave I am excited to see what the new year will bring. I used the stamp set Four Feathers with the matching framelits, both carried over from the HC. See page 49 of the OC. I colored the gold button with Crumb cake Blendabilities and used Linen twine for my bow.
This card was created using the set Adventure Awaits, found on page 41 of the OC. It is a very versatile set that has really great sentiments. I hope this set stays around for a while, especially because it has sentiments that can be used for men. We are always looking for masculine card ideas. I did this card with graduation in mind. On the flowers I used our classic ink pads with the Aqua Painter.
|


Here is more of the washi Tape sheets found on page 11 of the OC. I used the Pansy Punch to cut them out. The center of the flowers are the Itty Bitty Epoxy stickers found on page 28 of the OC. I colored them with Blendabilites. However you can color them with any alcohol pens like Sharpies, Copics or Blendabilities. The border on the top is from the set Chalk Lines, page 114 in the AC.

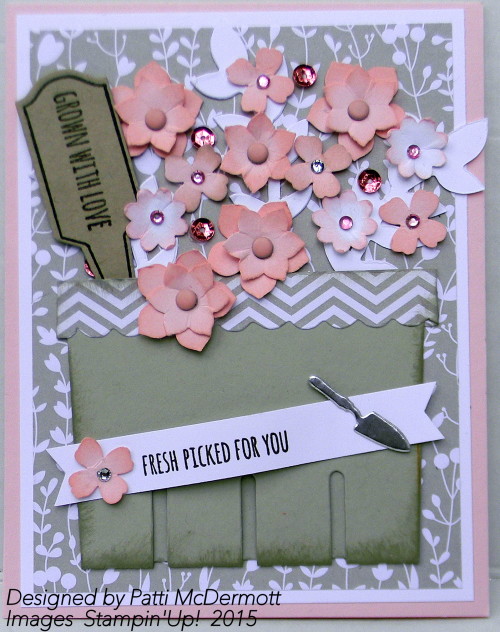
I really like Pink Pirouette and Sahara Sand together. I used the berry Basket and cut just one part of it out to create this card. I used the set From the Garden, page 20 OC, and the Handpicked Framelits, same page. I used the DSP, Something Borrowed. I punched all the flowers out with various punches and embellished them with both Candy Dots and Rhinestones. I filled in with the incolor sequins. Hope you like it.
You can purchase this set and the framellits as a bundle and get 15% off. That price is good through June 2nd.
I really haven’t used this set as much as I thought I would, but I really like it. This is a very CAS card the colors I used were Pool party, Shara Sand and Pear Pizzazz. I used the stamp set Gorgeous Grunge, page 165 AC, to distress it a bit and the sentiment is from Lovely Amazing You.
Today is the last day to get FREE Shipping!
You guessed it, this is the little Baby Bumblebee, missing the wings and antenae (page 39 OC). Don’t you just love this card? Shelli our Co-Founder of SU created this card for Leadership and I pretty much cased the whole thing off the video. I did have to change a few things around only because I didn’t have everything she used, but I think it came out stinkin’ cute anyway. I also did the little girl because I didn’t want you to think that I had preferences to either sex. LOL
The DSP and the buttons are Sweet Dreams and can be found on page 39 of the OC. Colors used were Lost Lagoon and Crisp Cantaloupe with Sahara Sand.
This is the first year that I missed Leadership since I became a Manager. I love to be there in person because you learn so much at these events.
I created this card with Baked Brown Sugar and Crisp Cantaloupe papers and inks. I used the in-color sequins to embellish the card along with linen thread and one of the buttons from the OC, page 39 and colored with sharpies leaving a mottled technique on the heart button.
This stamp set is on page 6 of the OC. I used it a lot for Valentine’s Day but as you can see it can be used for just about any occasion. I used Lost Lagoon card stock and ink and embellished it with the beautiful shiny acccents, Something Borrowed, page 42, the Sahara Sand Ribbon, page 43. Very clean and simple (cas) card.
|


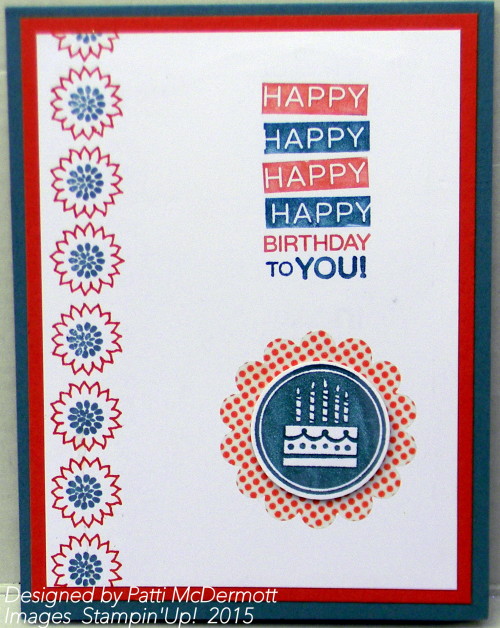
This card was created with the set Amazing Birthday, page 48 in the AC. In addition I used the border set, Borderng Blooms, page 162 in the same catalog. The colors I used are Calypso Coral and Lost Lagoon. I used the large sheets of Washi tape, page 11 in the OC and used the 1 3/4″ Scallop circle punch to cut the scallop out.
March Paper Pumpkin: Sew You
Back in January, we took a little trip to Orlando for Leadership 2015 and gave demonstrators a sneak peek at a couple of upcoming kits, including the March Sew You Kit. They were so excited about it! One of the things we heard over and over was, “It’s just like the sewing cards I used to make as a kid!” (If you’re too young to remember, just do a quick search for vintage sewing cards.)
Whether you remember sewing cards or not, there’s something magical about this kit that takes you back to that simple joy of creating! Here are so more ideas to keep the magic going.
First, here’s a project made using only the supplies from the kit. Check out this cute little card with a custom envelope made out of the card base.

Here’s an idea that combines some of the kit’s supplies with a few Stampin’ Up! products like the Stampin’ Spritzer.

Save those amazing stamps and put them to good use after you assemble your kit. This set is so versatile and can be used long after your other supplies are gone. But remember, if you love this kit as much as we do, you’re going to want some more—click here to get a refill before they’re gone.

The Sew You Kit is “sew” inspiring!
-The Paper Pumpkin Team


