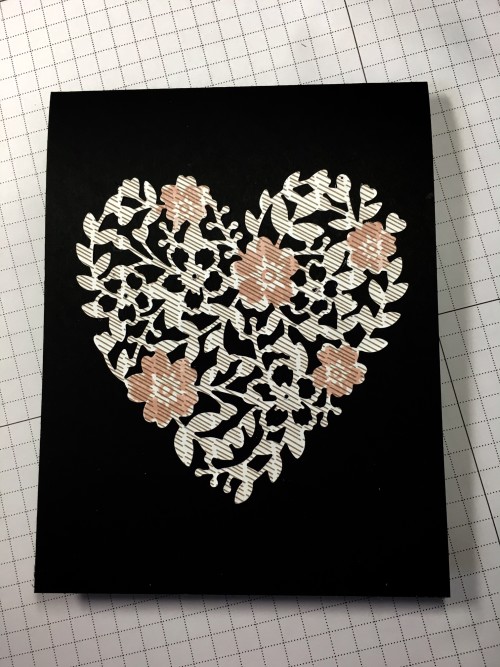
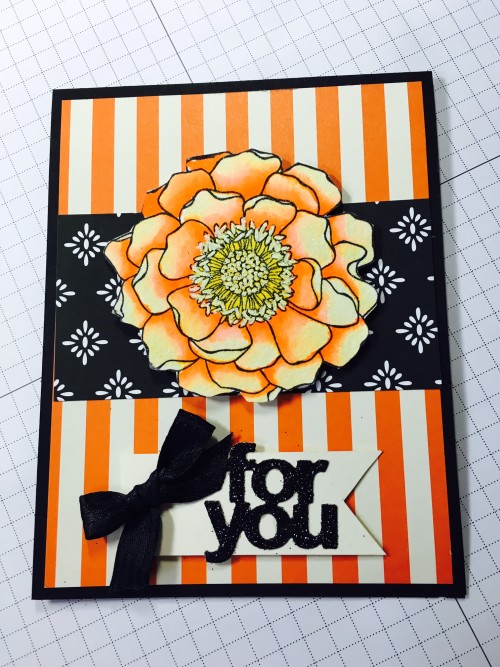
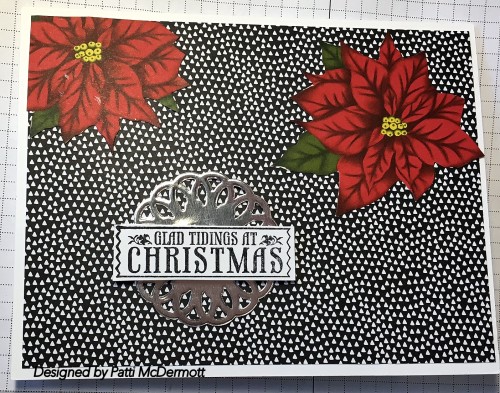
I was short this year and had to make up some more cards at the last minute and this was one of them. Usually, I have so many samples from my card making classes and clubs that I don’t need to. I generally send them to people out of town but I noticed that a lot of people no longer send Christmas cards.
I get a lot of email type cards. I am sure you know the kind. Where you click on it and it brings you to a singing card or a beautiful Christmas card online. That is not good for business.LOL I will keep making and sending cards for as long as I can. I think it is extra special for someone to go to the mail box and find a hand written card. It takes a lot more effort to create a card and means so much more to the recipient, don’t you agree?
Don’t miss out on this great year end sale. Go HERE to see what’s hot!
 |
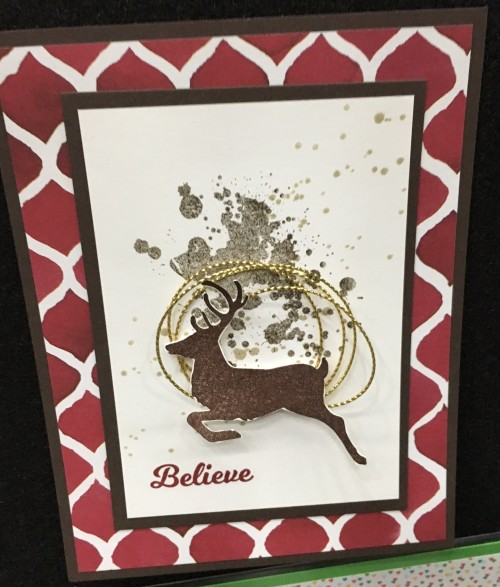
Jolly Christmas Card w/ Reindeer Clip Embellishment
Hello my friends! I’m wrapping up a whirlwind week of classes, a team party, and home renovations. Yep, we are renovating again – insert eyeroll. It seems once you open pandora’s box of home updates and repairs it’s impossible to close. Maybe we can resolve to have 2016 be renovation free. Good grief, I hope so.
Today’s card is one I made with my SE Calgary Stampin’ Up! Card Club ladies in November. I’m a big fan of the Jolly Christmas stamp set. I just can’t seem to get enough of it, and I LOVE it with the sentiment coloured all bright and fun with my Stampin’ Write Markers!
Did you notice that fun Reindeer Clip? Isn’t he just darling with a Red Pompom nose?!
All of these items are now while supplies last, so make sure you head over to my Canadian Online Stampin’ Up! Shop to get your must haves before they’re sold out.
Have an amazing weekend! I’ll see you back here on Monday!
Happy Stampin’

![]()
![]()
![]()
![]()
![]()
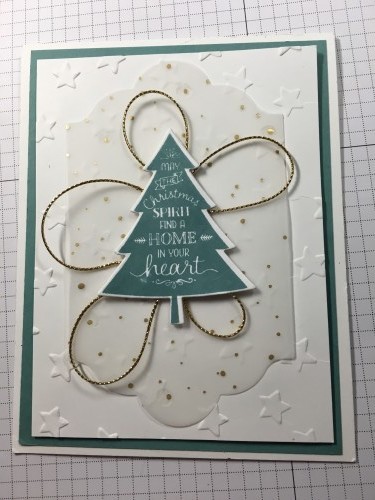
I used the Star embossing folder on the back ground and the beautiful gold cording trim, page 24 of the HC. In addition, I used the vellum Winter Wonderland paper stack, page 23, in back of the tree. The stamp set, Peaceful Pines, page 17 ,with the matching dies. Colors are Whisper White and Lost Lagoon.
My WA ladies & Gentlemen asked me to make a card for our Instructor for Christmas. They usually take up a collection for her and they knew I was a card maker. So this is what I made for her. It is a 5″X7″ because we need enough room for all to sign the card. We usually present it to her at our Christmas Party held at Alhambra Hall every year! Hope y’all like it! AND.. in case you are wondering, no one that I do WA with knows about my blog so she will not see this. LOL
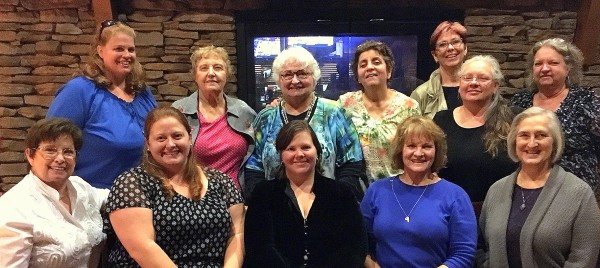
This was taken last night at our annual Christmas party. We had such a great time. The Chinese Exchange was awesome, the food great and the swaps were the best! Several ladies missing from this photo. Our next meeting, shooting for February, will be a shoe box swap. Hopefully everyone will make that one!
The holiday season is here! And you know what that means, it’s time to deck the halls, trim the tree, and as Ol’ Blue Eyes, Frank Sinatra sang so beautifully, “Oh, by gosh, by golly. It’s time for mistletoe and holly.” And we couldn’t be more excited to haul out the holly! Our November kit, Mistletoe and Holly, is full of fun surprises to help you spread some holiday cheer.

It’s a beautiful kit for sure! And what’s even more beautiful is the fact that you can get creative and change the kit up. Try using just the kit contents to create alternative projects like this cute card.

With just a few extra supplies, turn one card base into a tiny treat bag. Add some sparkle with Gold Basic Metal Buttons, Gold Stampin’ Emboss Powder, and Gold Glimmer Paper.

Don’t worry: the fun doesn’t stop when your supplies run out. Keep creating with the stamp set and your other Stampin’ Up! products, like Holidays Fancy Foil Designer Vellum and the Winter Wonderland Embellishments.

Change the color scheme add some Season of Cheer Designer Washi Tape and silver confetti stars to step up the glamour!

What do you love most about this time of year and what do you love most about this kit? Don’t forget, current subscribers can get a refill kit (while supplies last).
-Paper Pumpkin Team
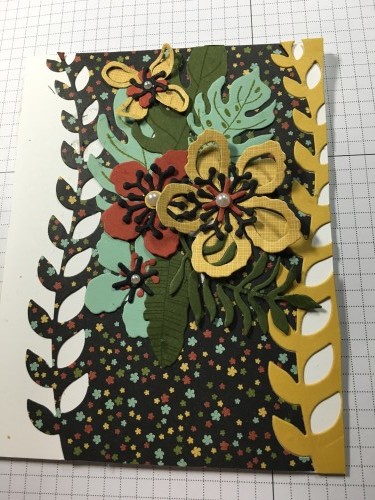
Another beautiful set from the new Spring catalog soon to be released. We did this card as a M&T at on-stage also. I love this DSP because you can stamp on it and actually cut out the images on it from the Botanical Builder framelits. It is the most awesome combination of stamps and dies that I have ever seen. The DSP is to die for, and you know the catalog never does justice to the actual paper once you see it in person. The set is called Botanical Blooms.

We had a class on this and everyone loved making these tags. Here is Sara on TV showing the kit!
We love this clever alternate use of the Hearth & Home Thinlits Dies to create a gorgeous lumineer. | Christmas (2015-2016 Annual Catalog) | Pinterest | Hearth…

We love this clever alternate use of the Hearth & Home Thinlits Dies to create a gorgeous lumineer. | Christmas (2015-2016 Annual Catalog) | Pinterest | Hearth…
I certainly couldn’t post Mo’s swap without posting Amy’s also. Finally emptied my bag from the weekend. Here it is! Love it!
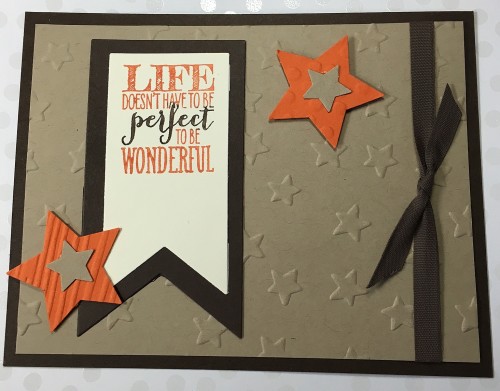
It was so much fun being with my girls for this awesome weekend! We all had the best time. Hope we can do it again. Would love to have the rest of my Downline go. Maybe next time!
This was my roomie gift from Mo when we arrived at our hotel. I think it is so stinkin’ cute and I have already used it.
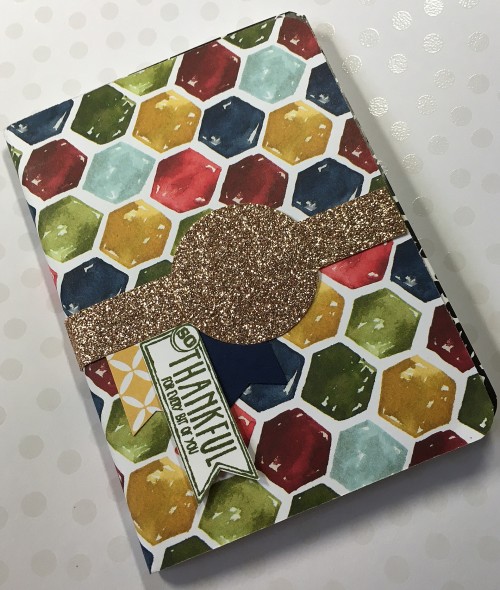
This is what we rec’d at Center Stage on Friday night from SU along with our totes and free stamp set, pens and commemorative badge for the first On Stage event.
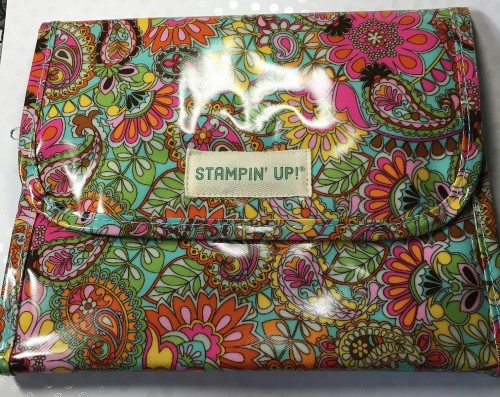
It is a jewelry case and it was filled with tons of embellishments. Love it!
Of course, y’all know I entered the ADT contest. Well I was not selected and I am very disappointed but I will keep on trying. Some of the people from last year won again. I am including some of the cards that were submitted by some of the people who also did not win. I took these photos off the board that was set up for people that entered the contest. Somehow I don’t feel too bad, since I am in good company with others that were not selected. The last one below is mine. Among them were:
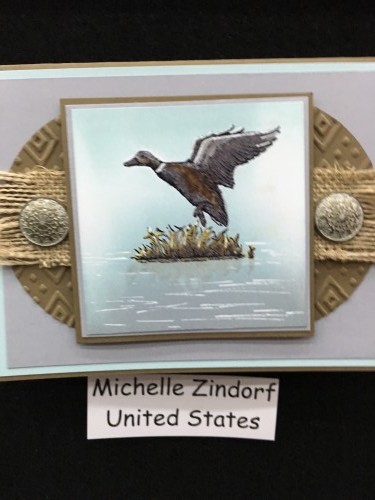
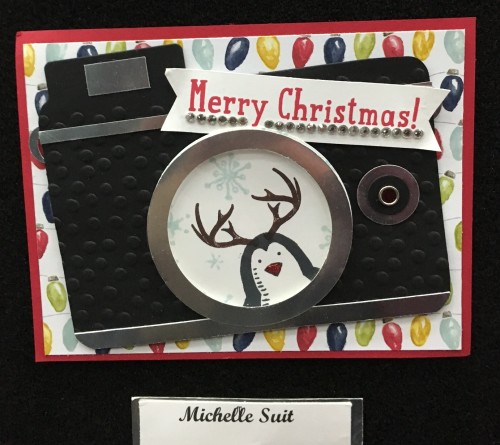
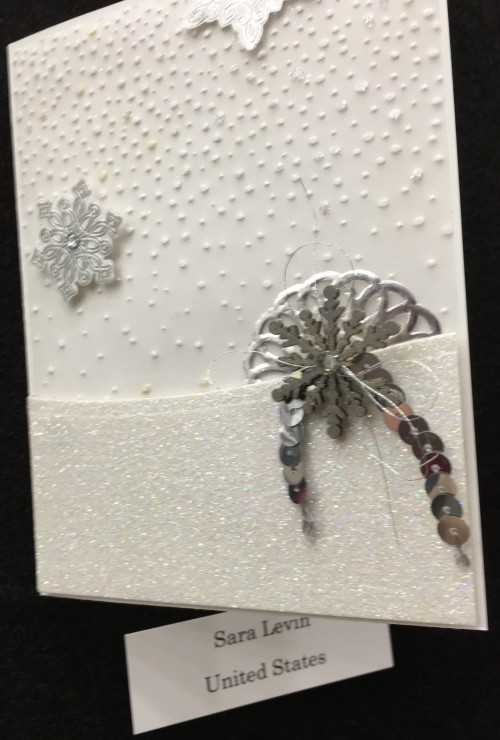
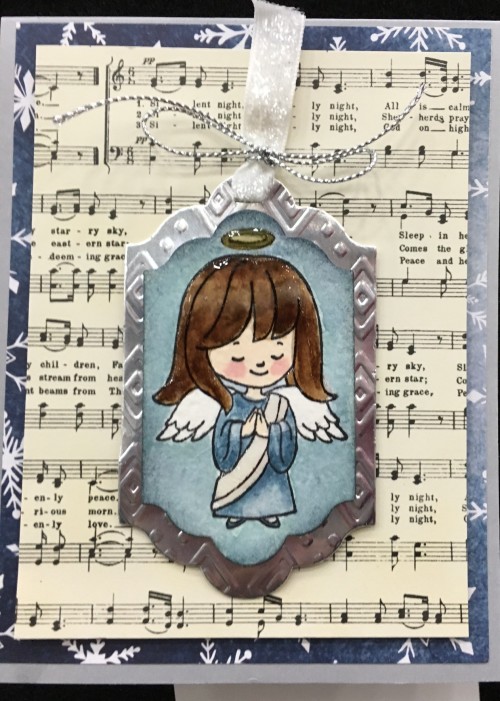
You cannot tell my the picture but I added Crystal Effects to her hair, halo and shawl. There were only about 6 people from our Baltimore group that posted pics of their art work. I wasn’t able to get them all.
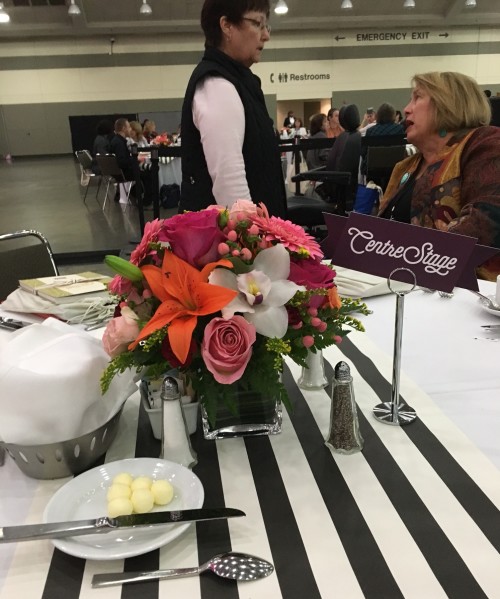
Our tables were so beautiful with lovely fresh flowers.
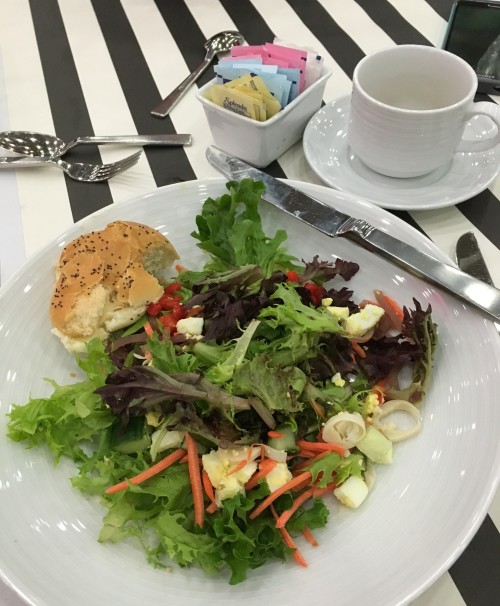
The Salad was wonderful but sorry I was so hungry by the time I remembered to take a picture of the main course, I was already into it.
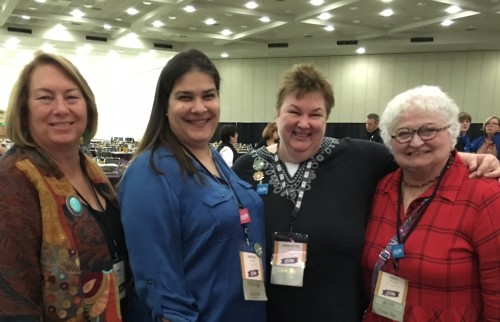
My table Mates, Pam, Sandy and Jeanette. Had a great time and met some wonderful new friends. Looking forward to Saturday’s events. Picked up my bag and new stamp set which I will show you when SU gives us the go ahead. My prize Patrol pin is Marina Mist. Wish me luck!
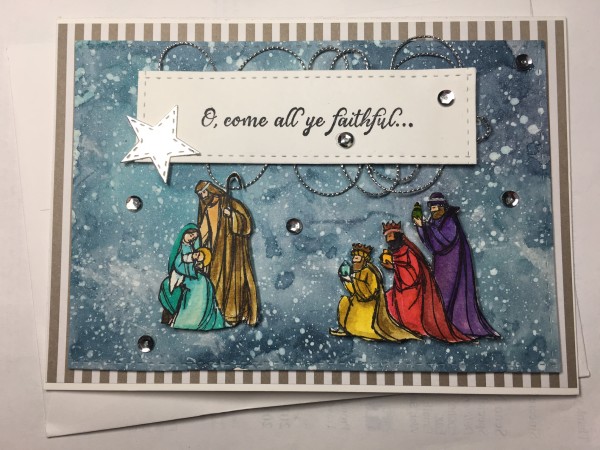
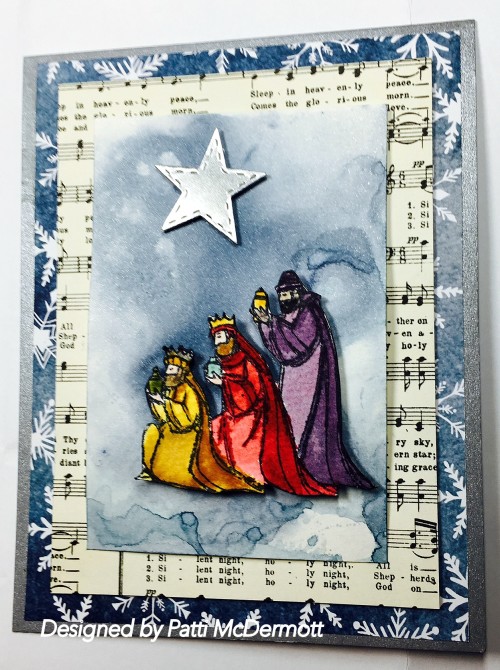
The background is a watercolor wash of Night of Navy and Marina Mist on Shimmery paper. I used the DSP, Home for Christmas, page 9 and Season of Cheer, page 29 of the Holiday Catalog. The Three Wise men (stamp set All Ye Faithful), page 20 of the HC, were colored using classic ink with an aqua pen on watercolor paper which I then fussy cut out.
Hey Stampers, I am going to try and post while I am away in Baltimore for the SU “On Stage” event (co-insides with the convention being held in Brussels.) If I am not able to post any projects then maybe I will just post what we are doing in Baltimore, some of the fun things.
I won’t be allow to show you any of the new stuff, like the new catalog or pictures from the new products we will be testing. However, once SU goes live online with it, I can start giving you sneak peeks with some of the stuff I am going to purchase while I am there. We leave tomorrow!
Hugs, to y’all, Patti
Hoop Boys Birthdays
Kona and Makai both had birthdays recently, so I thought I’d share their gift packaging. Legos are pretty popular with the younger boys in our family, particularly the Hoopiiaina and Brown boys. And the Ninga bottle…well, that’s just fun!


I think this is the cutest ever. I love the little Santa peeking in the window. This is another card we made at our Wednesday club and everyone loved it. The Santa was fussy cut from the DSP Home for Christmas, page 9 of the HC. It is the best DSP that SU has ever designed for the Holidays. These little Santas and the little reindeer are all over the internet. Now the background trees are from the DSP, Season of Cheer, page 29. The wall paper is from our gorgeous DSP in color. The sentiment is from the set, Oh, What Fun, page 5 and the window was cut with the die Hearth and Home, page 11.

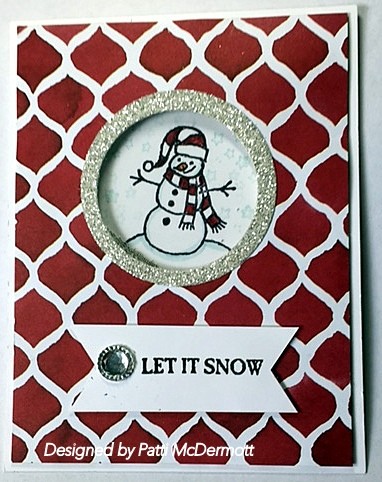
We made this card at our Wednesday morning club class. I used the Season of Cheer DSP, page 29 of the HC and the stamp set is Sparkly Seasons, page 40. I outlined the window with our Silver glimmer paper and used Cherry Cobbler ink on the Snowman’s hat and scarf. I hilighted the snow and the snowman with Soft sky ink.

Project Life Hello December 2015 is all about helping you document those special moments, traditions, and fun activities you enjoy with family and friends during the merry month of December.
Almost everyone takes photos on camera phones these days, and for me it has become natural to capture a moment using my phone. Hello December 2015 provides an accessible, fun approach to documenting and sharing your December photos and memories in one simple album.

All you need is the Kraft 6″ x 8″ Project Life Album (item 139655), Project Life Photo Pocket Pages (item 135297), the Hello December 2015 Project Life Card Collection (item 139653), the Hello December 2015 Project Life Accessory Pack (item 139654), and the Project Life Hello December 2015 Stamp Set (item 139809). (Please note: you will most likely require more than one set of photo pages.)
Better yet, you can purchase the Project Life Hello December 2015 bundle (item 140305) and get a fifteen percent discount! It includes the card collection, accessory pack, and coordinating stamp set.
Project Life is not meant to be overwhelming or stressful. The whole idea is to spend time making memories, not documenting them. Hello December 2015 helps you quickly and easily capture the 25 days leading up to December 25—all of those stories of December—from the treats and the decorations to the traditions and activities.

The first image for this year’s album was the last photo from my Christmas 2014 album, printed as a 6″ x 8″ and made into the cover page; I added the title using elements included in the Hello December accessory pack. We are an “Elf on the Shelf” family, and last year the adventures of these two characters featured heavily in my album.
Speaking from experience (and many who have taken part in Hello December during past years would agree) the key to keeping the process simple is to set up the album structure before December. My first step is to write out all of the events I know are coming up in December; this page is merely designed to assist me in recording the events. After December, I replace the draft with a final calendar. (When I look back at past Hello December albums, I can see that as a family, we do have little traditions that happen each year!)

Your goal is to tell one story each day on one layout each day. Most of the layouts will feature Christmas. However, they don’t have to, as sometimes the everyday events that keep us busy in December are the stories we really want to remember.

Knowing when events will fall helps when it comes time to place journaling and filler cards in the pockets. For example, I’m aware that Santa will be visited on the 12th, so I have added a card suitable for that event.

When I first heard about Hello December a few years ago, I was worried that my life was just not that exciting. I have since heard from friends and customers that they feel the same. Now I think: “Why was I so worried? December is always my busiest month!” When I started to write down all the events that make up December, I saw that I had something planned for 70 percent of the month.
For days with nothing planned, I simply note the day of the week and place a filler card. These days give me the chance to highlight something I love about the season—like the Christmas CD I have playing in my car or the holiday mail I receive from a friend or that yummy treat that only comes at Christmas time.

Now that the album has been laid out, most of the work has been done. Then you just need to add your photos and journaling as you celebrate the season. Hello December is such a fun tradition to begin, and it enhances the holidays as you share and enjoy memories.
If you are like I was and feel that you do not do enough to join the Project Life Hello December fun, here are a few photo prompts to help your creativity flow. Please leave a comment below if you have a suggestion to add to our list!
- Advent calendar
- Christmas traditions
- Letter to Santa/Visit to Santa
- Shopping list
- Family activities
- Christmas tree
- Christmas lights
- Baking holiday treats
- Wrapping gifts
- Christmas carols
- Craft or DIY
- Mailing of handmade cards
- To-do list
- The weather outside or temperature
- Colors of Christmas
- Visitors
- Food prep or menu planning
- Elf on the Shelf
- Yummy December treats
- Family photos
- Decorations
- Parties
- Hanging the stocking
- Naughty or nice
- Memories from childhood
- Favorite movies
- Gingerbread
- Wise words about the season
- School activities
- Mail or gifts arriving in the post
- City decorations
- Church celebrations
- Gifts being opened
- Exchanging gifts
- Giving back, helping the less fortunate
- Store displays
- Shopping (seeing presents before they’re wrapped)
- Compare a moment from last Christmas to one from this Christmas
- Before and after; for example, before-and-after pictures of the kitchen during Christmas cooking and baking
- Trying something new
- What CD is playing in the car
- Cleaning up
- Travel
Be sure to share your creations online via your favorite social media account and use the hashtag #HelloDecember.
Teneale Williams
2014–2015 Artisan Design Team


