26. February 2017 · Comments Off on From Shelli · Categories: Cards

Lots of Love

My stamping is limited these days, so my friend and awesome artist created (and duplicated!) these projects for our family for Valentine’s Day. As I individualized each gift and card, it gave me the opportunity to pause and think about the love I have for my beautiful family and for all the wonderful peope in my life. I feel so blessed!

Now for the projects… 

A little extravagant, these paper mache heart ornaments will last a lifetime for our sweet daughters…

Individual (and very cool!) cards for our sons-in-law…

Adorable monsters filled with chocolate hugs and kisses and monies (as the twins would say) for the grandkids…

And last, but certainly not least, for my sweetheart…

25. February 2017 · Comments Off on The Perfect Surprise: A Card in a Box · Categories: Cards

This kraft packaging may look plain and simple on the outside, but when you open it, you’re in for a very special surprise! It’s not just an ordinary package but a card that is also a pretty box!

Today, I’ll show you how you to make this extraordinary eye-catcher yourself. It’s easy to do—so let’s get started!

Artisan-1

To make the packaging (including the card), you’ll need the following supplies: Kraft Cardstock (item 133674), Whisper White 8-1/2” x 11” Thick Cardstock (item140272), the Stampin’ Trimmer (item 126889), a Bone Folder (102300), Tear & Tape Adhesive (item 138995), and Multipurpose Liquid Glue (item 110755). To make this project I also used the Good Vibes Project Life Card Collection (item 141666) and the Good Vibes Project Life Accessory Pack (item 142684).

Artisan-2

The first step is to cut the Kraft Cardstock for the box, then fold and adhere it. The measurements for the box are 4-1/4″ x 4-1/4″ x 1-5/8″ (approx. 11 x 11 x 4 cm). And of course, it can only be a surprise if the package has a lid! The steps to create the lid are similar; its measurements are 4-7/16” x 4-7/16″ x 9/16″ (approx. 11.3 x 11.3 x 1.5 cm).

Artisan-3

After completing the packaging, it’s time to make the interior. Start by cutting Whisper White Cardstock to 8-1/4″ x 4-1/8″ (approx. 21 x 10.5 cm). Fold this piece of cardstock in half at 4-1/8″ (approx.10.5 cm). Repeat this step for three pieces of paper. Then adhere each piece of cardstock to the other to create an accordion fold.

Artisan-4

The next step is to embellish the packaging and the accordion piece. As mentioned above, I used the Good Vibes Project Life Card Collection to decorate my project. The square cards fit perfectly on the accordion panels. In addition to the cards, I also used sequins, paper clips, and alphabet stickers from the accessory pack as well as Night of Navy (item 141684) and Whisper White Solid Baker’s Twine (item 124262). The alphabet stickers are copper and therefore a perfect eye-catching embellishment!

Artisan-5

Once you’ve decorated the project, all that’s left is to adhere the accordion element inside the finished box. Simply adhere the top panel to the lid and the bottom panel to the bottom of the packaging. Tear & Tape Adhesive works best to do this. Now you just need to give your project away and wait for the surprised look on the face of the recipient!

Artisan-6

The box and its contents can easily be adapted to any kind of occasion or theme. For example, you could swap out the Project Life cards for Designer Series Paper or stamped images.

This kind of packaging would also work well as an invitation. You could use the different panels to accommodate all the details, pictures, and a map with directions. So get creative and see where your imagination takes you! Have fun and enjoy making this project!

Maike Ulbrich
2017 Artisan Design Team

24. February 2017 · Comments Off on From our Artisan Design Team · Categories: Cards

Vertical Garden Gift Boxes

Hello, stampers! With succulents being so “hot” right now, I wanted to create something special for you all that had something to do with them. There was just one problem. I don’t as yet have the Oh So Succulent Bundle (item 145184). Gasp, I know, but I do have the Vertical Garden Project Kit (item 143635) and the Vertical Garden Stamp Set (item 142996) so I’m here today using some of the items out of the Vertical Garden kit and stamp set for some gorgeous gift boxes. I’ve also pulled out a trusty old tool that has a million-and-one uses, the Envelope Punch Board (item 133774). So I’m mixing up some of the old with the new.

1

The Envelope Punch Board (item 133774) is not only fabulous for making your own envelopes, but you can also make your own boxes with them, too. What’s better than not only making a special handmade card for your special friends but also making the gift box, as well?

2

I’ve created three different-sized boxes for you with three different looks. I’m loving the mix of the Basic Black Solid Baker’s Twine (item 141682) with the soft Sahara Sand Cardstock (item 121043) to give the gift boxes a bit of a grungy, modern feel.

3

For the first box I marked and scored all my fold lines and then I measured approximately how wide the swirl stamp image was from the Vertical Garden Stamp Set (item 142996). I wanted to make sure that I could mark even spacing across the top of the box to stamp and then heat emboss White Stampin’ Emboss Powder (item 109132). Once the lid was embossed and the embossing powder was set I could put the box and lid together using Tear & Tape Adhesive (item 138995). Tear & Tape is a strong adhesive and is fabulous for boxes and 3D items. I just wrapped the Basic Black Solid Baker’s Twine (item 141682) a few times and then decorated with the succulents from the Vertical Garden Project Kit (item 143635).

To give the succulents a bit more depth and color I sponged each petal using the Stamping Sponges (item 141337). Then I finished off the boxes with 5/8″ Burlap Ribbon (item 141487) and Gold Sequin Trim (item 132983)—just for some added elements and texture.

How fabulous is that “Hello” from the Vertical Garden Stamp Set? I love the font and it looks so gorgeous stamped and heat embossed with White Stampin’ Emboss Powder (item 109132) on Vellum Cardstock (item 101856). I trimmed down the vellum to a 2″ strip using the Stampin’ Trimmer (item 126889), then turned it into a gorgeous tag using the Scalloped Tag Topper Punch (item 133324). That punch makes tag-making oh, so easy!

4

The second box is again made with the Envelope Punch Board and embellished in a way that is similar to the first one. I just changed up the stamped images and the size of the box.

5

The last box is again made with the Envelope Punch Board, but instead of making it in Sahara Sand Cardstock, this one is made using the Thick Whisper White Cardstock (item 140272). This cardstock is not only fabulous for card bases but for smaller, 3D constructions, as well.

As I did with the first two boxes, I punched and scored the cardstock to prepare for making the box, but before I put it together, I first stamped the swirly image on the lid of the box using VersaMark ink (item 102283) and embossed it using Gold Stampin’ Emboss Powder (item 109129) and the Heat Tool (item 129053). The splatters over the top are flicks of Gold Wink of Stella (item 141898). The Wink of Stella adds another touch and element to your creation and really looks fabulous splattered over . . . well, everything!

To flick Wink of Stella, give the barrel chamber a bit of a squeeze so the brush tip is quite wet. Then press the brush tip just in the top edge of the lid and push and flick the brush tip out of the lid away from you so that it splatters over your creation. Give the Wink of Stella a minute or two to dry or give it a quick blast with the Heat Tool. (If you don’t let your splatters dry, they will smudge and then not look so pretty.)

The little box is then finished off with some of the same ribbons and trims as the first two boxes as well as some Gold Metallic Thread (item 138401) tied around it for some more added prettiness.

Thank you so much for joining me today. I do hope that I’ve inspired you to dress up your gift boxes and to create a pretty package for your gifts.

Rochelle Blok
2017 Artisan Design Team

23. February 2017 · Comments Off on February Paper Pumpkin Many Happy Birthdays · Categories: Cards

Let’s kick things off this month with a little laugh.

Question: Why did the candle fall in love?

Answer: Because it found the perfect match! (Ba-dum-tshh!) We did warn you that it would only be a little laugh.

But, you know what else is a perfect match? You and the Many Happy Birthdays Kit! This kit will help you effortlessly plan the perfect birthday surprise for someone you love. Whether you’re sending wishes their way in a card, creating party invitations, or giving a gift card, the pull tab candle cards will help you pull it off with flare!

Feb_PP_Main (1)

And since the kit name is Many Happy Birthdays, here are some more ideas to keep the flame of creativity burning bright. First, using just the kit components, you could turn the many happy birthdays cards into mini happy birthday cards by making a set of tiny cards.

February_PP_alt1

Next, transform the pull-tab pocket card into a literal pocket card. Just assemble the card base, trim the bottom, snip the end corners at an angle, and add some adhesive at the bottom to seal it shut.

February_PP_alt_2

As always, hang onto that stamp set so you can use it on future projects—like this card. The geometric line images create simple background in any color scheme.

February_PP_alt3

This kit is on fire! Don’t let the fun burn out—order many more refills today, while supplies last.

PP_Birthday

The Many Happy Birthdays Kit is just in time to celebrate our fourth birthday in March! We’ve come a long way and look FOUR-ward to many happy birthdays with our Paper Pumpkin peeps. We’re so grateful FOUR you! Party with us by sharing your favorite projects online. #PaperPumpkinBirthday

PP_SAB

Don’t forget, right now you can skip to the Sale-A-Bration with Paper Pumpkin! Get a 3-month subscription for just $55 USD/$74 CAD and instantly qualify for a FREE Sale-A-Bration item! Learn more here.

19. February 2017 · Comments Off on Projects by Artisan Design Team Member · Categories: Cards

One Cute Little Monster

1

Hi Everyone!

Just popping in to show you some of the projects I made with the Yummy in My Tummy Stamp Set (item 142922). I love anything that I can color so it’s no surprise that this was a must-have item for me from the new 2017 occasions catalog.

Usually when I start to play with a stamp set, I stamp multiple images at once. Since I intended to watercolor using my Many Marvelous Markers (item 131264) and my trusty Aqua Painters (item 103954), I heat embossed several monsters on Watercolor Paper (item 122959). In order to do this, I had to ink my stamp with the VersaMark Pad (item 102283) and then ink with the Basic Black Archival Stampin’ Pad (item 140931) before stamping on the paper. Quickly, I covered the image with Clear Stampin’ Emboss Powder (item 109130) and applied heat with the Heat Tool (item 129053). This gives it a nice raised and glossy look.

#adttipandtricks: By using the clear embossing powder, you avoid the mess of those pesky black “specks” when you heat emboss.

2

This cute monster image was designed with shaker cards in mind so I put it to the test. The Sprinkles Embellishments (item 142741) are the perfect thing to use!

3

#adttipandtricks: When you find yourself unable to know exactly where to punch, place a mark in the center of your image before taking the plunge. This takes the “cross your fingers and hope for the best” out of punching.

4

No cute card is done without an equally cute envelope! The Home Sweet Home Thinlits Dies (item 140279) created the perfect “teeth.”

There are lots of options with this stamp set. You could punch out its belly and replace it with so many things including lollipops, mini containers of colored modeling clay, lip gloss, and chocolate eggs. The possibilities are endless and I can’t wait to see what you come up with!

5

No project is complete without a Delicate White Doily (item 141701). This doily gave the impression that this project was a flower.

6

Until next time . . . “party on”!

Cathy Caines
2017 Artisan Design Team

Save

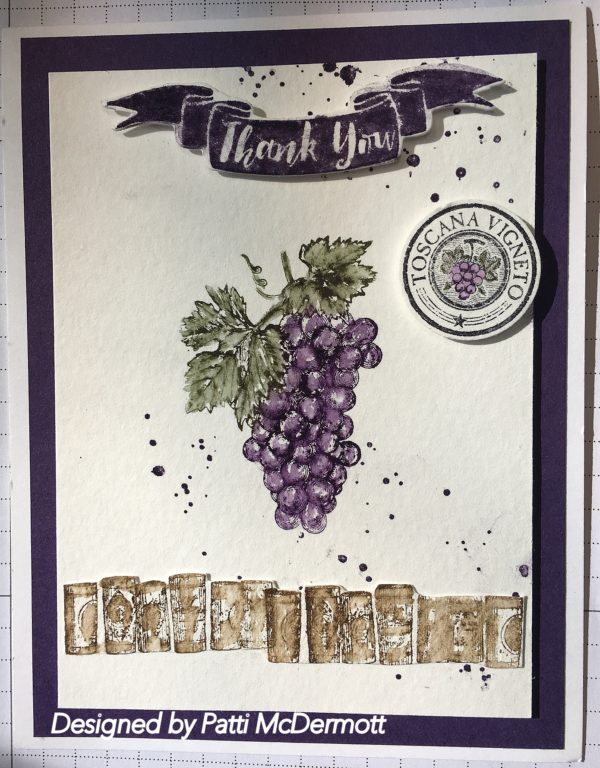
18. February 2017 · Comments Off on Tuscan Vineyard · Categories: Cards

Now this is one of my favorites in the AC, page 95.  Whenever we are traveling with the family, we love to stop at all the different Vineyards and do the wine tastings.  They are so much fun.  The last time we did this was when my niece got married in Virginia and we all traveled together and found these lovely places in the Blue Ridge Mountains, and of course,  lot of stops because there are many.  AND, they are so beautiful and very Picturesque set on all the gorgeous rolling hills.
Anyway, I stamped this with Archival Basic Black ink, on Watercolor paper, with eggplant Envy, Crumb Cake and always Artichoke inks.  Hope you like it!

Save

16. February 2017 · Comments Off on Beautiful You! · Categories: Cards · Tags: , ,

I used this set, found on page 24 of the OC, with the new DSP, Falling in Love, page 51 of the OC.  The colors in this DSP are so awesome!  It is def my favorite of all the DSP in both the OC and the SAB.
I combined the colors, Crumb cake with Watermelon Wonder.  This set contains beautiful sentiments and images that you can use for many different occasions.

Save

15. February 2017 · Comments Off on Chinese New Year · Categories: Cards

This Artisan Design Team member is so talented.  This is Allison Okamitsu’s 3rd year being selected as a member of this team.  Not hard to tell why…..

I love celebrations! Birthdays, anniversaries, Christmas, and New Year’s are all fabulous celebrations that I treasure. And although Chinese New Year isn’t a holiday my family traditionally celebrates, I had a fabulous time putting together some fun and creative ideas to help you decorate and celebrate. This year the Chinese New Year celebration begins on January 27 (Chinese New Year’s Eve) and ends on February 2, so you still have time to whip up some festive décor and gifts for your friends and family.

1

One Chinese New Year’s tradition is to gather for a family reunion dinner. I absolutely love this idea and I think that a celebration that brings family together is just perfection. I’ve created these beautiful paper lanterns to use as a centerpiece at this dinner celebration.

2

For the lanterns I’ve used five of the long and thick pieces punched in Real Red Cardstock (item 102482) from the Bow Builder Punch (item 137414). I then added lots of gold touches, including the largest image from the Moroccan Nights Stamp Set (item 141715) embossed with Gold Stampin’ Emboss Powder (item 109129) and embellished with Gold Foil Sheets (item 132622) and Gold Sequin Trim (item 132983). The tassels from the Cupcakes & Carousels Embellishment Kit (item 142767) are the perfect finishing touch.

Another Chinese New Year tradition is to gift red packets containing money. The significance of these red packets is to wish others a safe and peaceful coming year.

3

I’ve created my red packet with the Gift Card Envelope & Trims Thinlits (item 135854) and Real Red Cardstock (item 102482). Before I assembled the packet, I embossed it with a stamp from the Celebrate Today Stamp Set (item 137138) and Gold Stampin’ Emboss Powder (item 109129). Don’t you think it looks like a string of fireworks?! I then used the Moroccan Nights Stamp Set (item 141715) and Any Occasion Stamp Set* (item 143348) to create a focal point for the belly band, which is constructed of Gold Foil Sheets (item 132622) and the gold ribbon from the 3/8″ Metallic Ribbon Combo Pack* (item 143601). I think anyone would be thrilled to receive one of these stunning red money packets.

Last but not least, I created an adorable little takeout box using the Cutie Pie Thinlits Dies (item 138273). I simply adjusted the box to make it look more like a takeout container than a piece of pie.

4

Keeping with my theme of gold and red, I added some gold embossing to the takeout container using the Delicate Details Stamp Set* (item 143314). Each year in the twelve-year Chinese zodiac cycle is represented by an animal and element. This year marks the year of the fire (or red) rooster. The Hey, Chick Stamp Set* (item 143328)—free with purchase during Sale-A-Bration—was perfect for adding in the iconic rooster image.

I hope you’ve enjoyed my project today—and a little lesson on Chinese New Year (if you weren’t familiar with it already). I apologize if I’ve made any errors in my research about this celebration and welcome you to leave a comment to fill me in on the facts and how you celebrate!

Allison Okamitsu
2017 Artisan Design Team

Save

Save

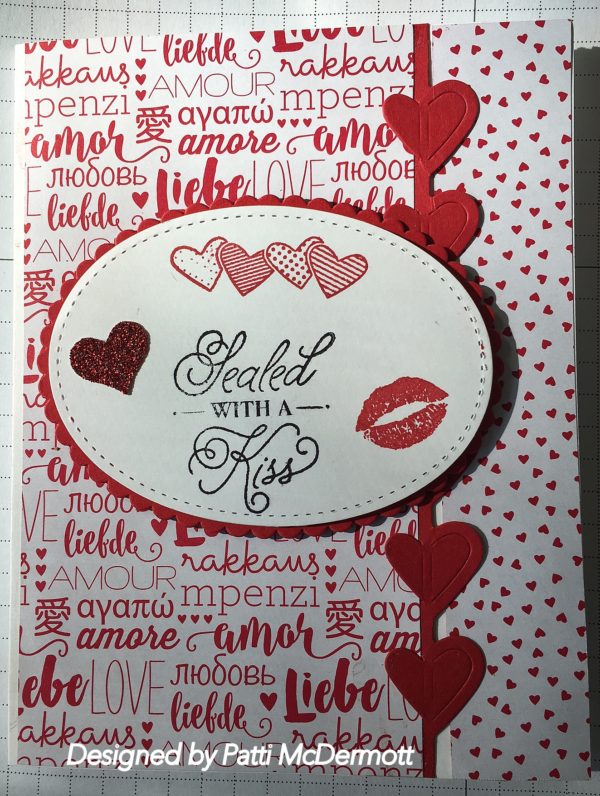
14. February 2017 · Comments Off on Happy Valentine’s Day! · Categories: Cards · Tags: , , , ,

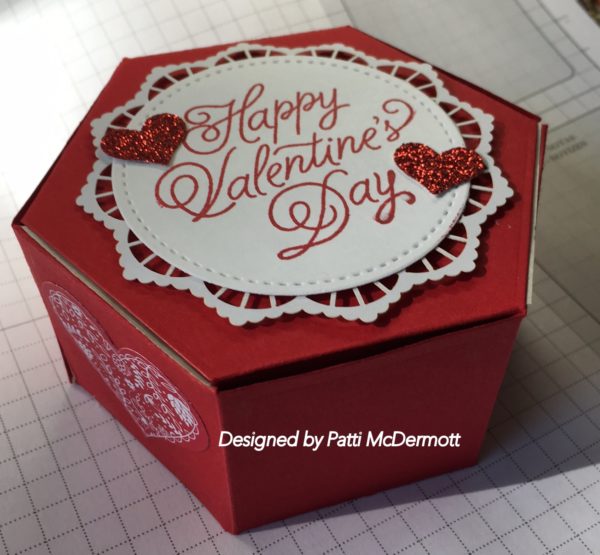
This card was created using the set Sealed with Love, and matching dies, Love Notes, page 14 & 15 of the OC.  Colors are real red and whisper white.  I used the Stitched layering oval dies and the Red Glimmer paper, page 175 of the AC.  The background DSP is Sending Love Paper Stack, also found on page 15 of the OC.  This set is so versatile and again the possibilities are endless.

Save

13. February 2017 · Comments Off on Blushing Bride Beauty · Categories: Cards · Tags: , , ,

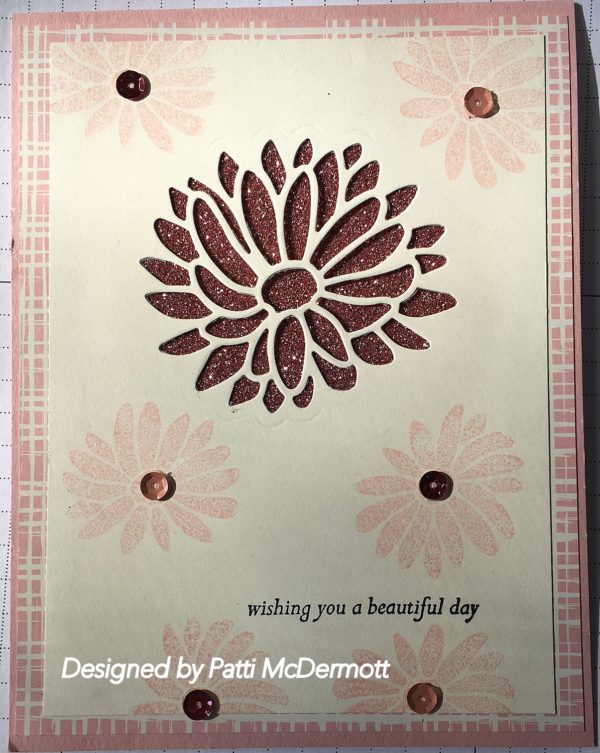
This card was created using the stamp set, Special Reason, page 42 of the OC with the matching dies, Sytlish Stems, same page.  You can buy this bundle and save 10% when buying them together. There are so many possibilites for this bundle.  IMHO, it is the BEST bundle in the entire OC.  I used Blushing Bride glimmer paper and the DSP is from the Playful Palette Paper stack, page 174 in the AC.
Save

Save

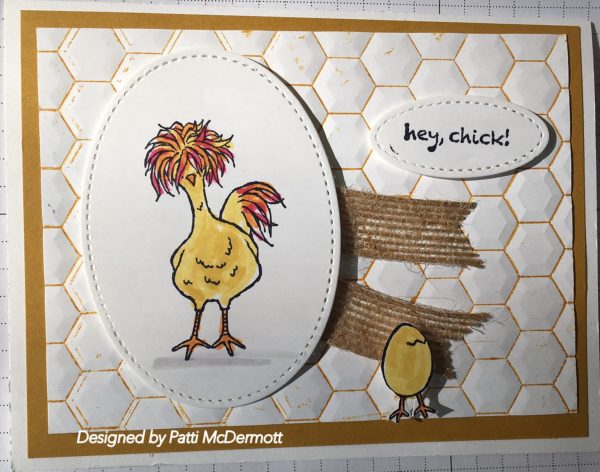
12. February 2017 · Comments Off on Hey Chick · Categories: Cards · Tags: , , ,

This has got to be one of my favs in the Sale-A-Bration Catalog.  I used the Hexagons Dynamic Embossing folder found on page 47 of the OC for the background by brayering the inside of the EF in Delightful Dijon ink.  I used the Stitched layering oval dies for the images and sentiment.  Whisper white CS and Delightful Dijon finished off the card.

Save

08. February 2017 · Comments Off on Valentine Surprise! · Categories: 3D Items · Tags: , , , , ,

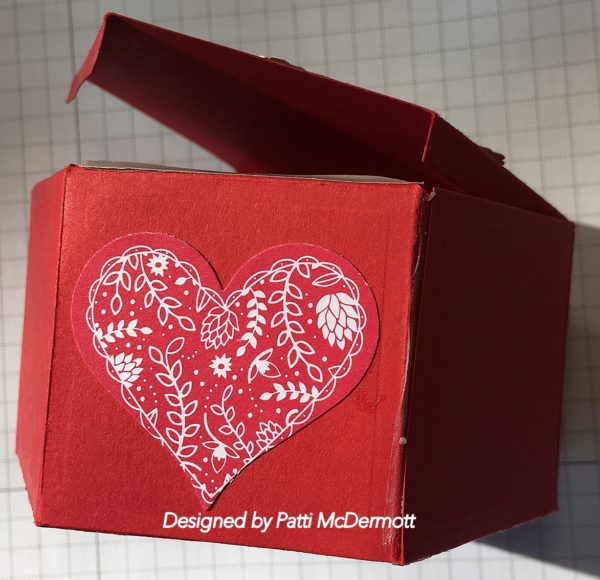
We made this 3D  item at Stamp Camp.  It was cut out with the  Window Box Thinlits dies, page 43 of the OC.  I used real red card stock and the doilies on page 51.  I cut whisper white card stock out with our new stitched layer dies and the sentiment is from the set Sealed with Love on page 15.  Hearts are punched out from red glimmer paper found on page 175 in the AC.

Save

06. February 2017 · Comments Off on Carousel Fun! · Categories: Cards · Tags: , , ,

This card was created with the set Carousel Birthday, found on page 9 of the OC.   The DSP is from the Cupcakes & Carousels paper stack same page.  The cupcakes were cut out with the dies, Up & Away, page 10.  I used Peekaboo peach card stock and Calypso Coral Ink for the cupcake toppings.  This is a fun set with sentiments for both front and inside.  The sentiment I used on this card was from the set Lift me Up, page 10.

Save

Save

Save

04. February 2017 · Comments Off on Tie Dyed · Categories: Cards

Hah! My daughter is tie dying a t-shirt for us for our “All girl Disney Cruise” and asked what colors I wanted my shirt to be.  I said Pink orange and beige.  I guess she didn’t think that would be a good match so I created this card to show her the colors would go together.  I actually changed the beige to Crumb cake and soft suede.  What do you think?  Is it doable?
I love both these stamp sets.  Carousel Birthday is from the OC, page 9 and Avant Garden, page 4 of the SAB catalog.  I used Blushing Bride and Whisper White CS and copper Metallic thread on page 178 in the AC.  Hope you like it!

Save